We put in
time this weekend at home in preparation to building the interior.
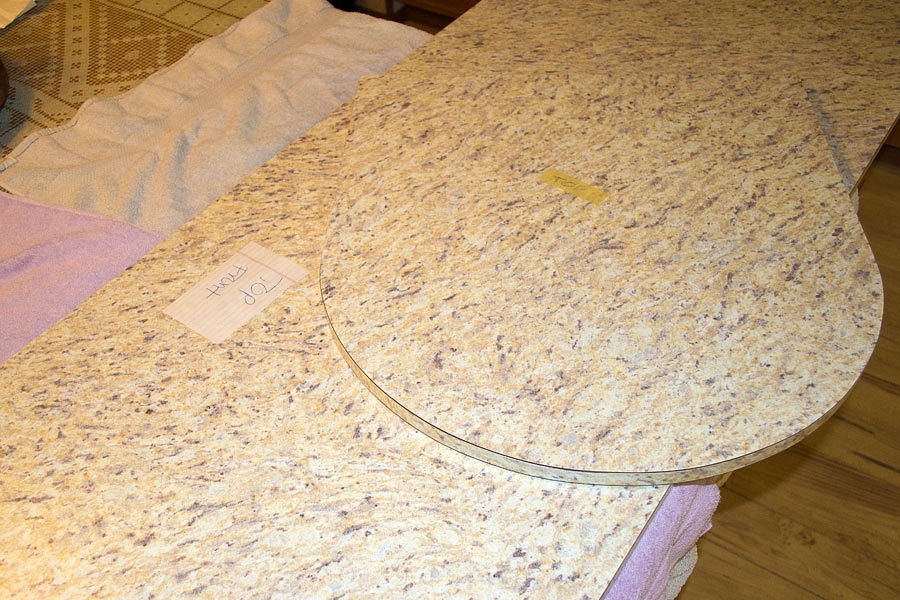
First we
built the new countertop and table and covered both in Formica. We made the
table just a bit larger than the table we put in our first camper.
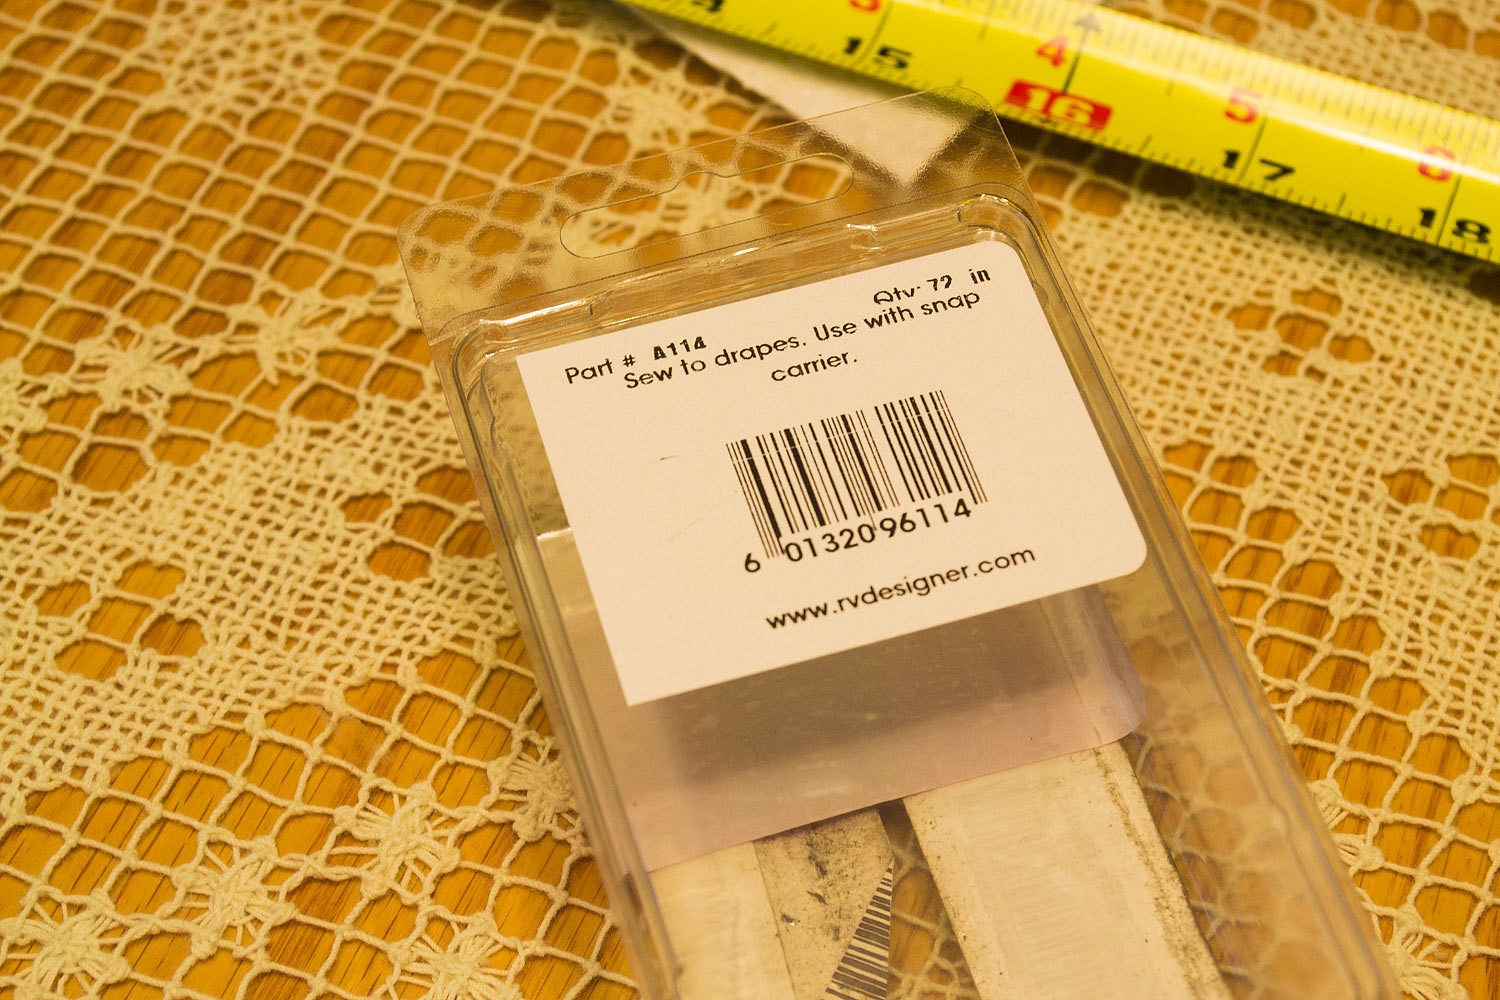
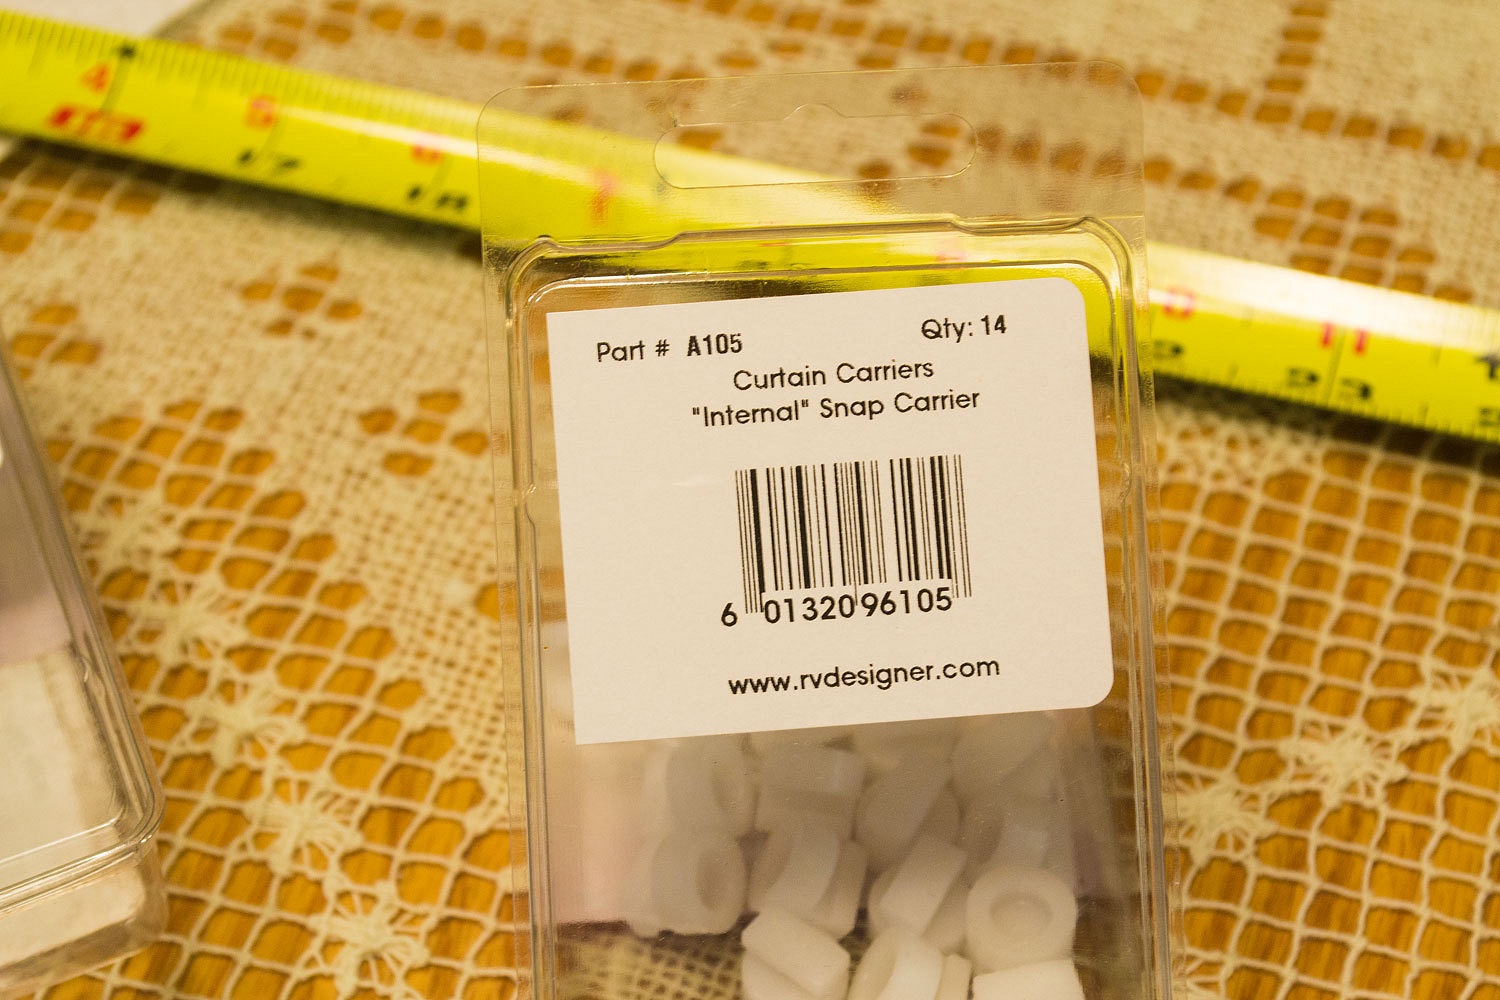
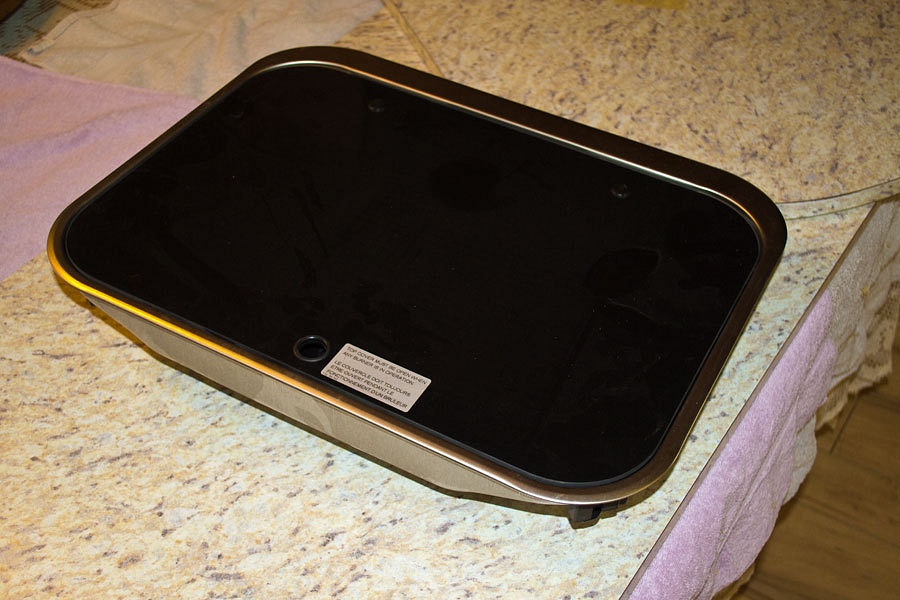
Most all the
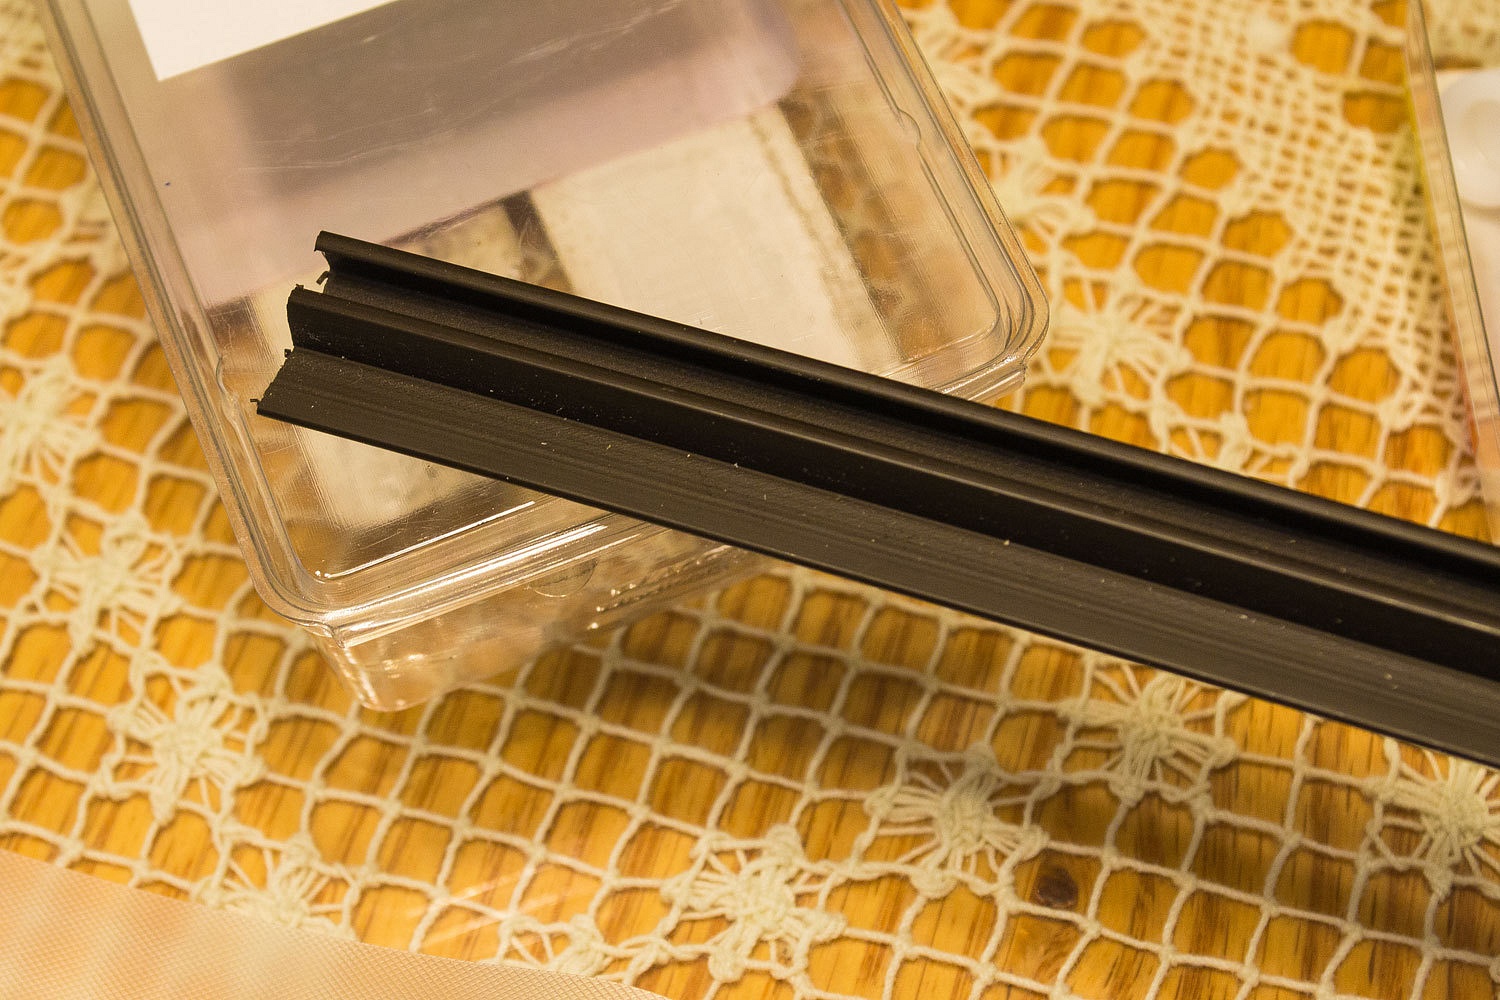
parts we ordered have arrived, including the new SMEV stove.
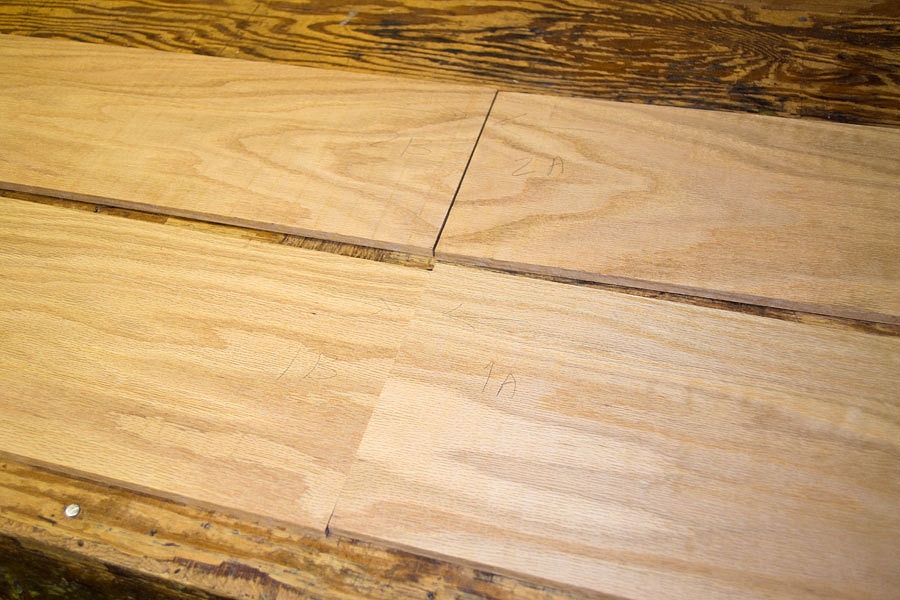
With the
countertop and table ready, we moved on to cut and plane oak for book matched
drawer fronts.
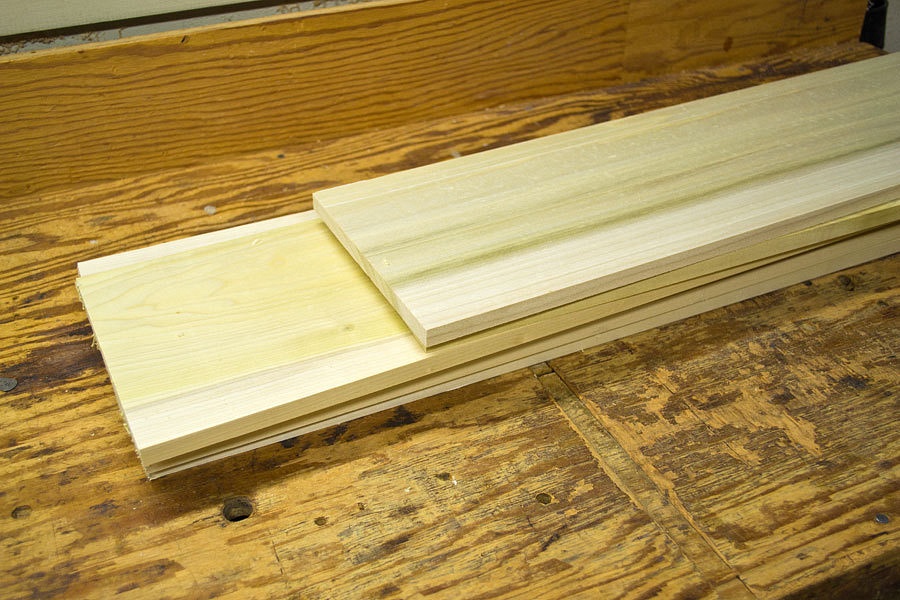
We also
planed all the poplar to thickness for the drawer sides.
There’s an
interesting and hard to explain satisfaction that comes from hands on labor.
We’ll be putting a lot more of that into our new camper.
A few days later..............................
It was unmistakable,
the Lady’s happiness. I met her in the garage as she drove in. Instantly out of
the car, prancing in place, her hands close in front with a series of quick
claps, and that grin from ear to ear. “Thursday! Really? We can get our camper
on Thursday!” She was thrilled.
We’ll back
up a bit here and share the continuing process of building our camper. A big thanks,
again, to the crew at All Terrain Campers for the following photographs.
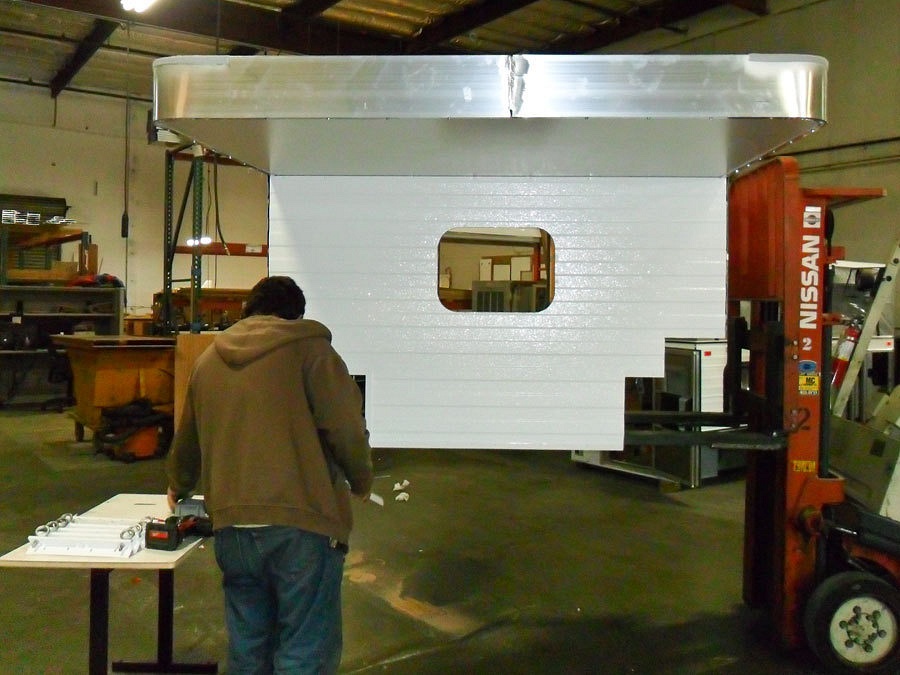
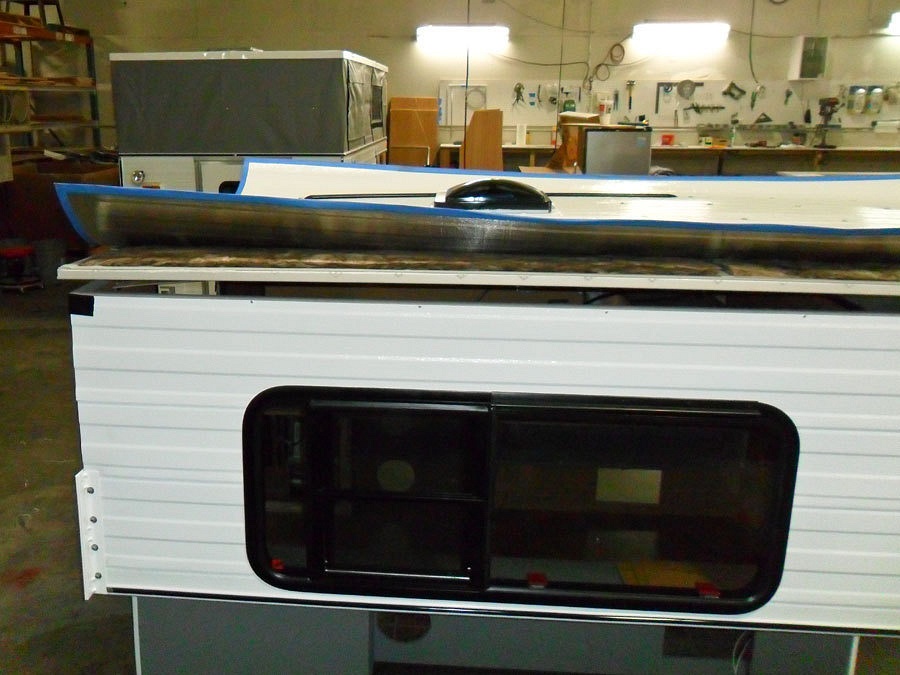
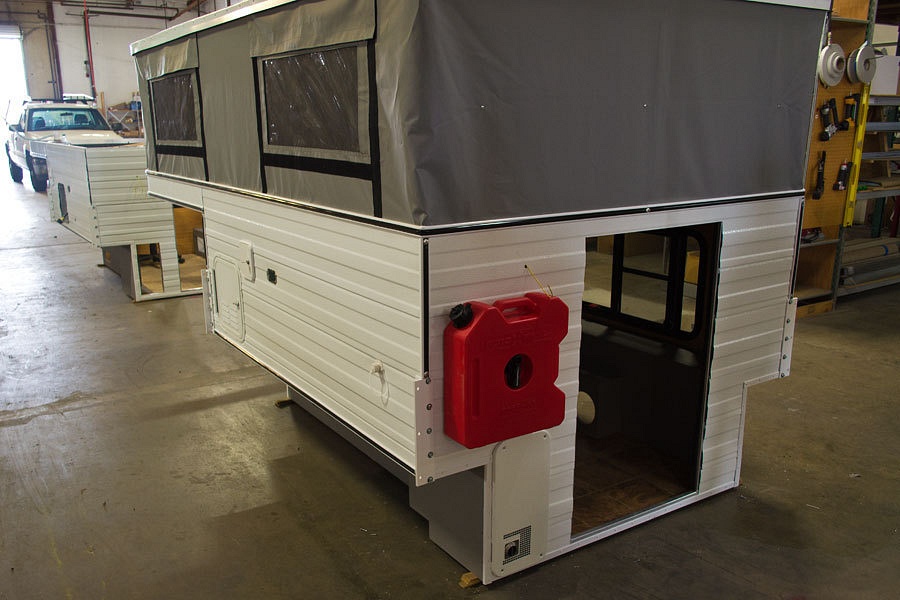
I had said
that after my last visit they had gotten right on finishing the siding and
trim. Here’s the documentation. The siding is on with the holes cut out for the
windows.
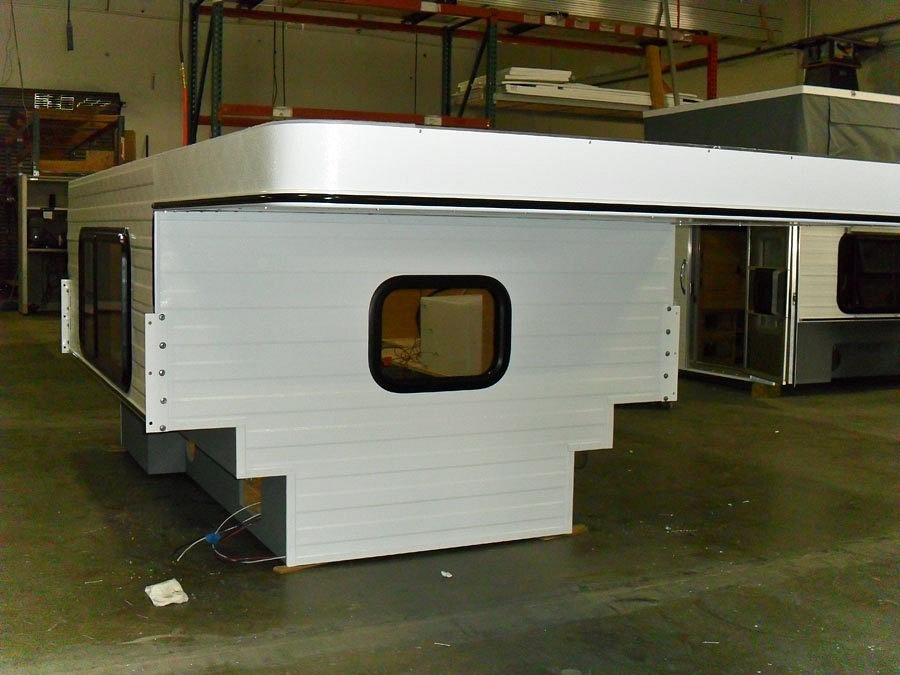
Brad gets
the camper in a comfortable position for work and completes the trim.
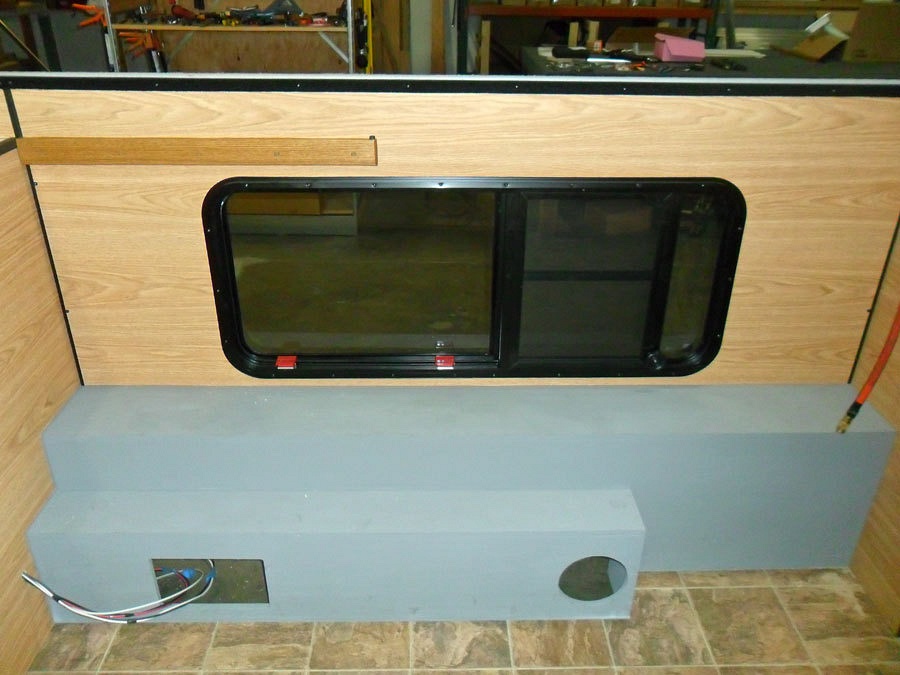
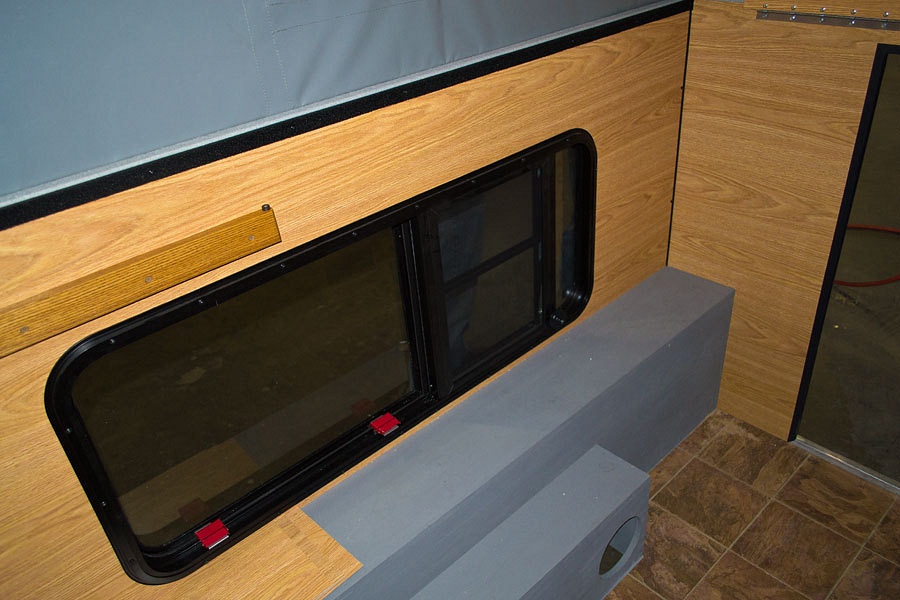
The windows
are installed.
It is looking
great.
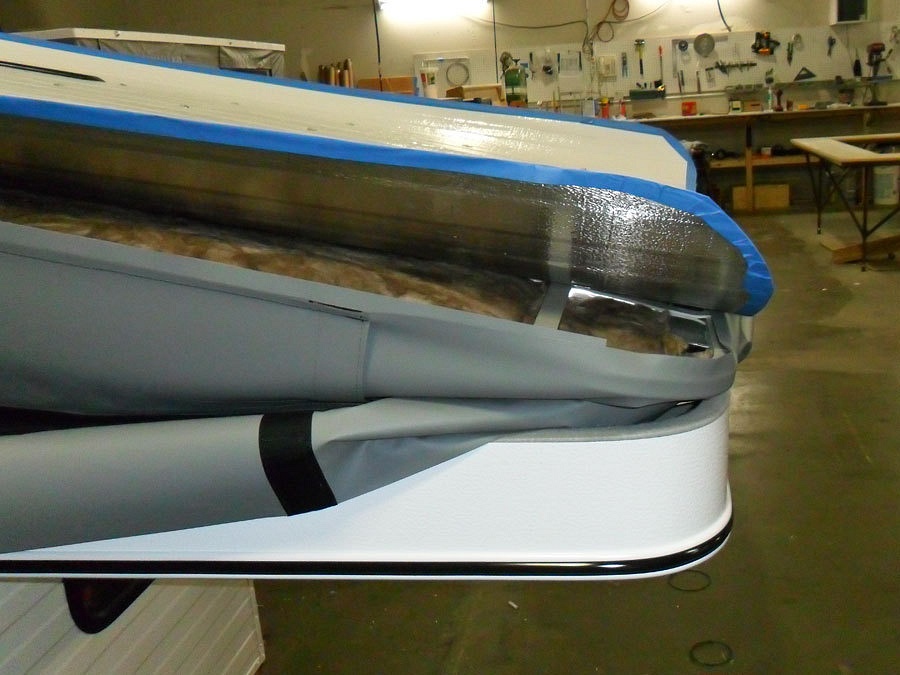
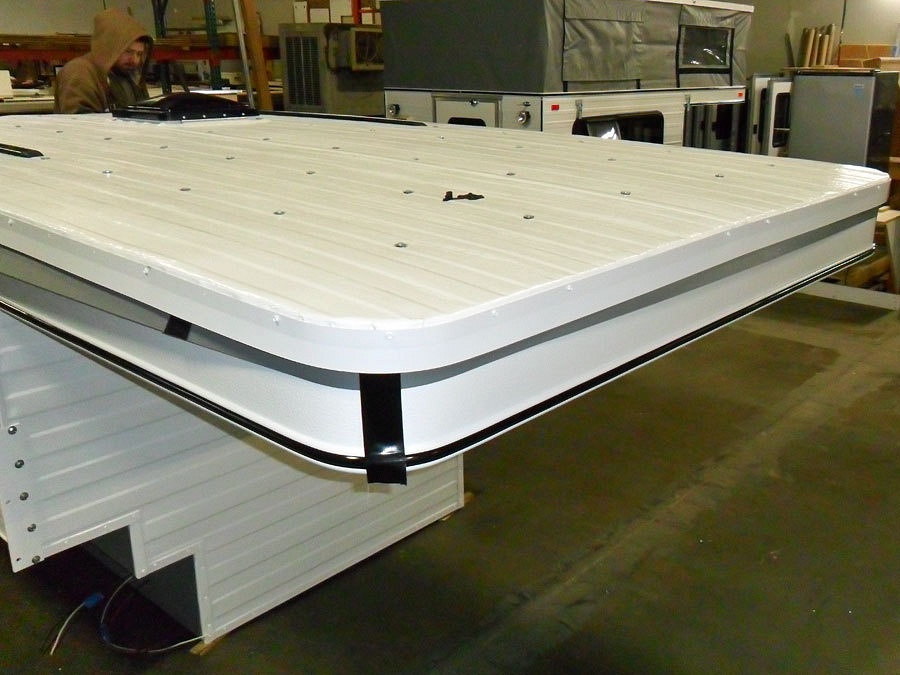
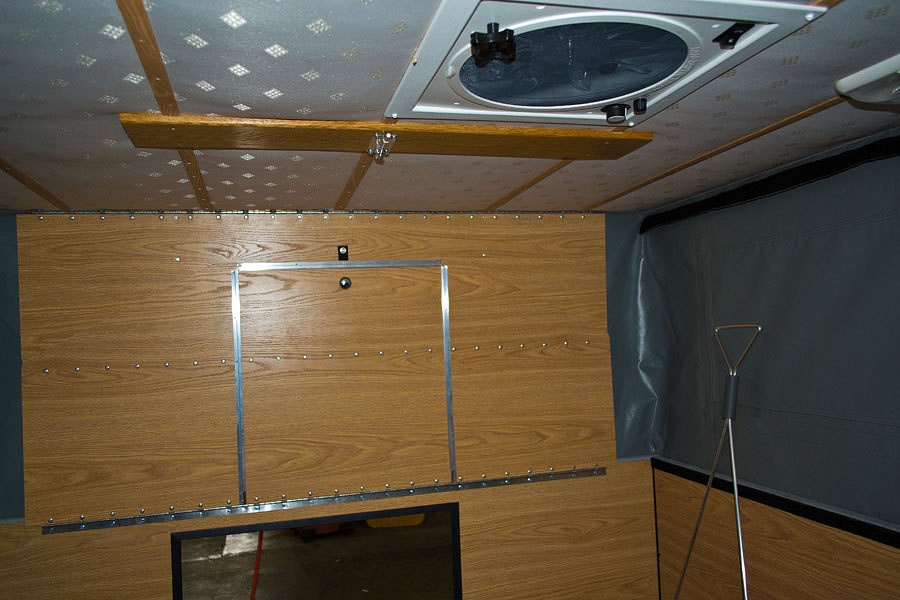
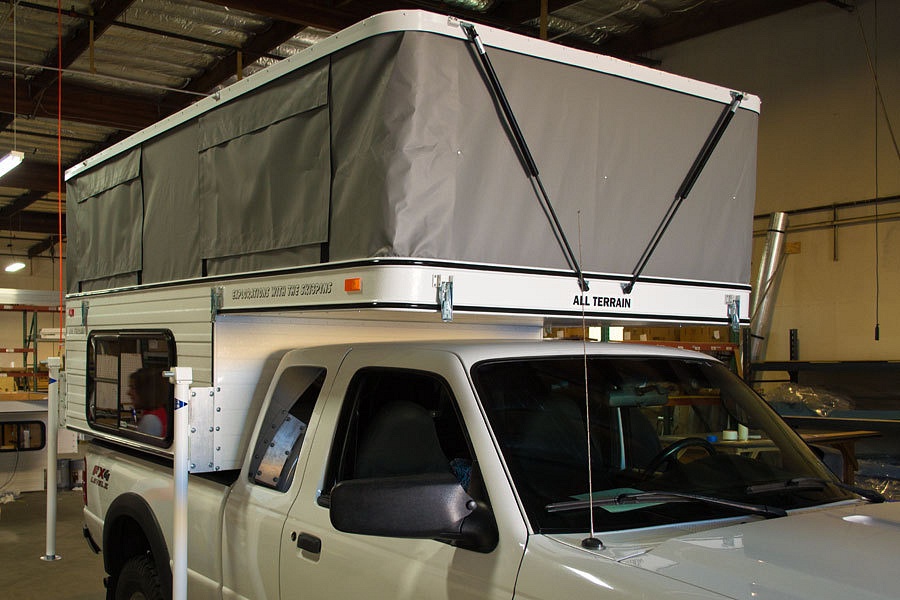
The roof is
put in place and the lift panels are installed to the main camper shell.
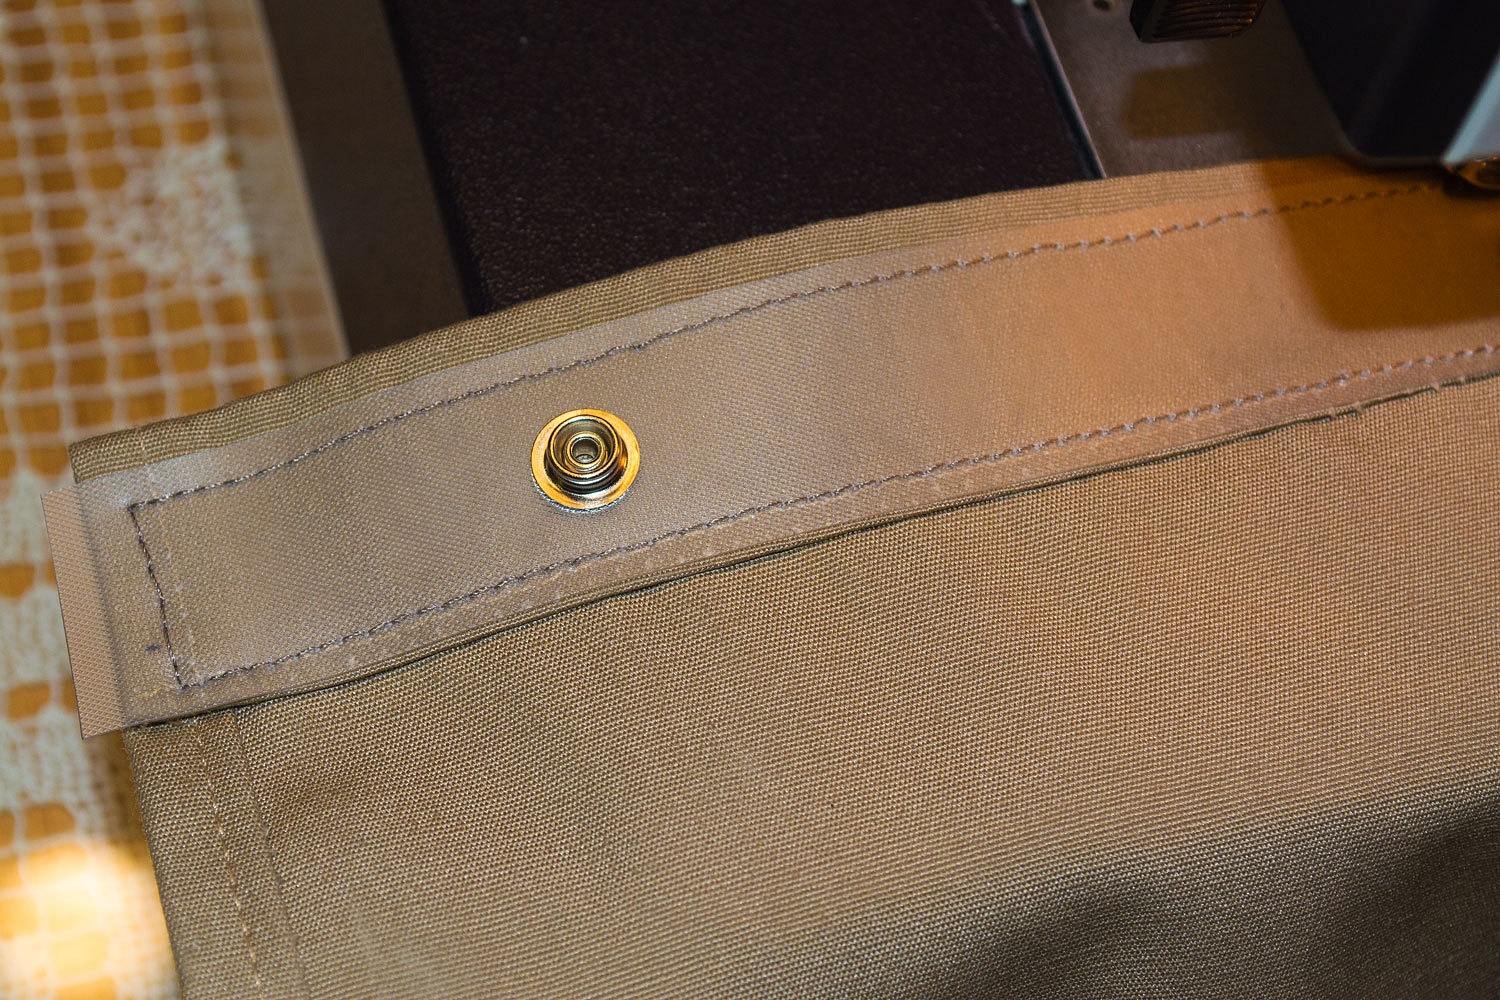
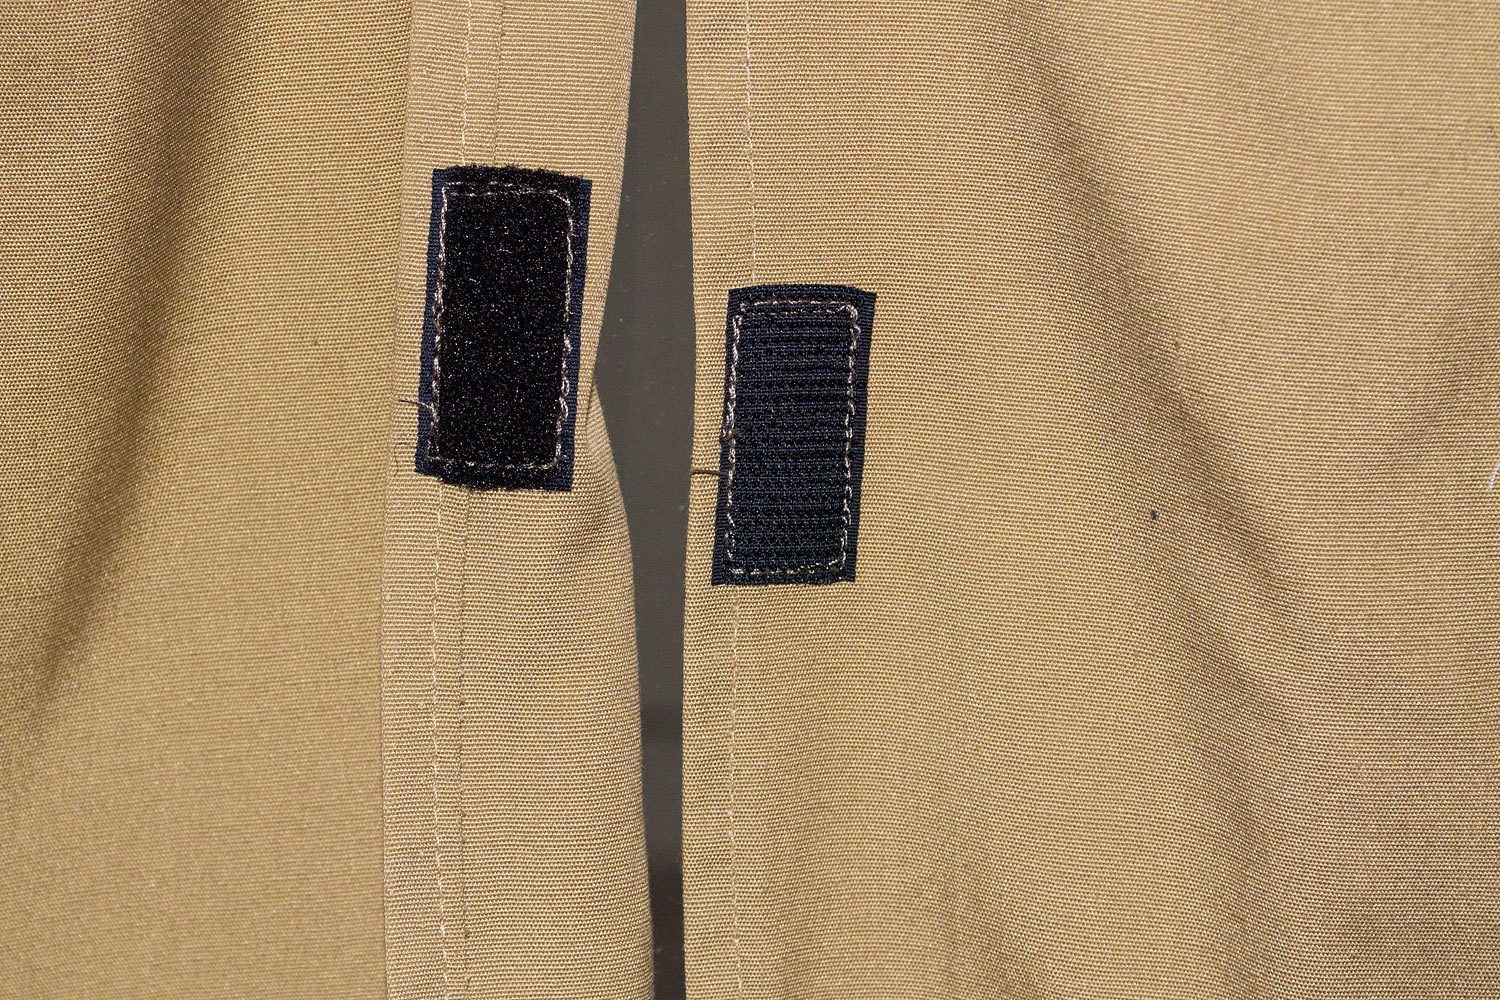
The inside Velcro
strips for the top of the Cold Weather Pack are laid out for installation.
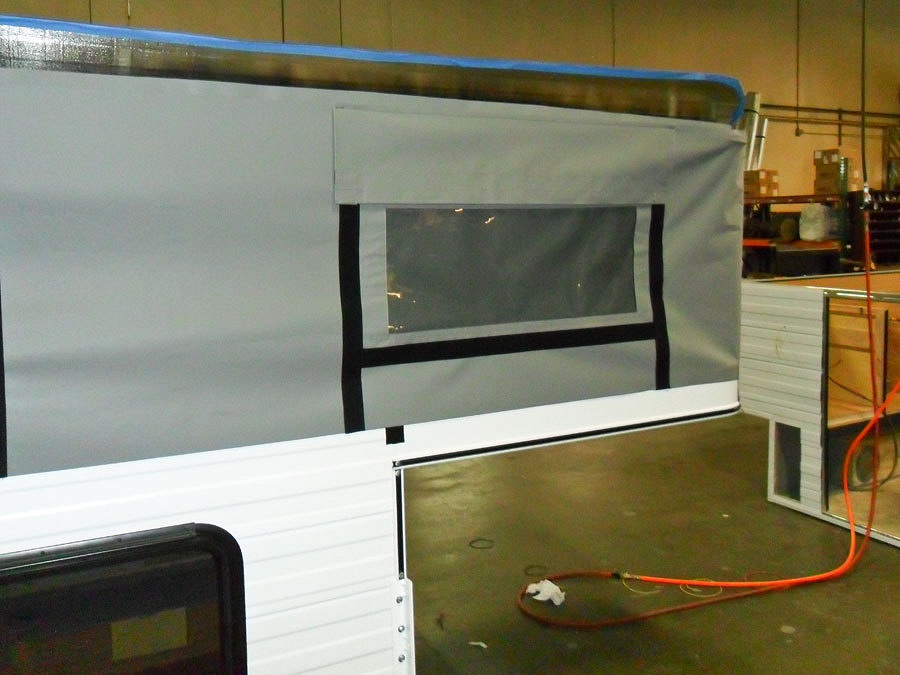
The side
liner is laid out in preparation to be lowered around the roof.
It is then
ready to be stretched over the edge of the roof.
The fit is
perfect and the placement is just right.
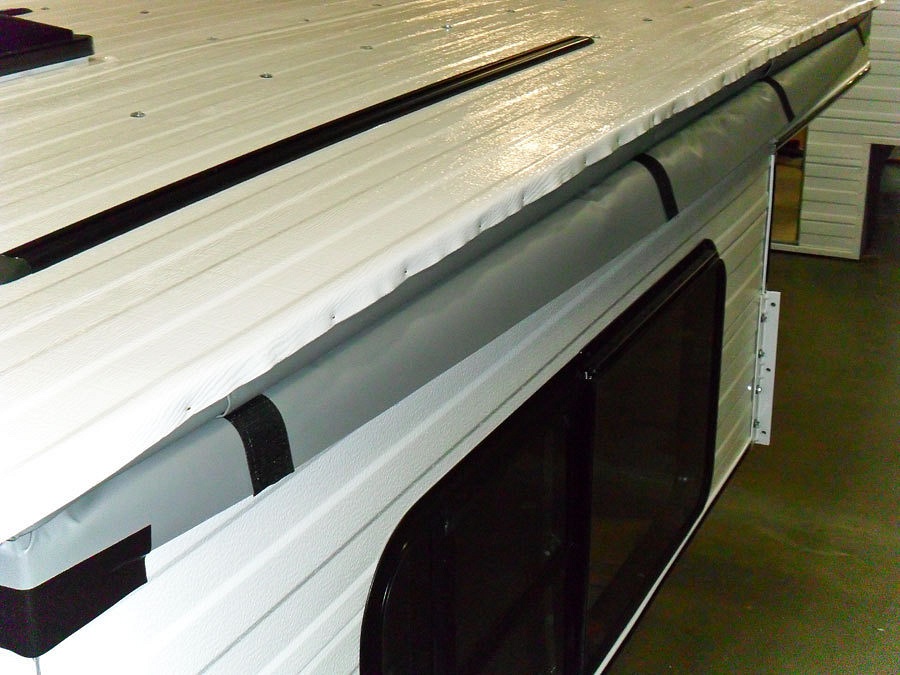
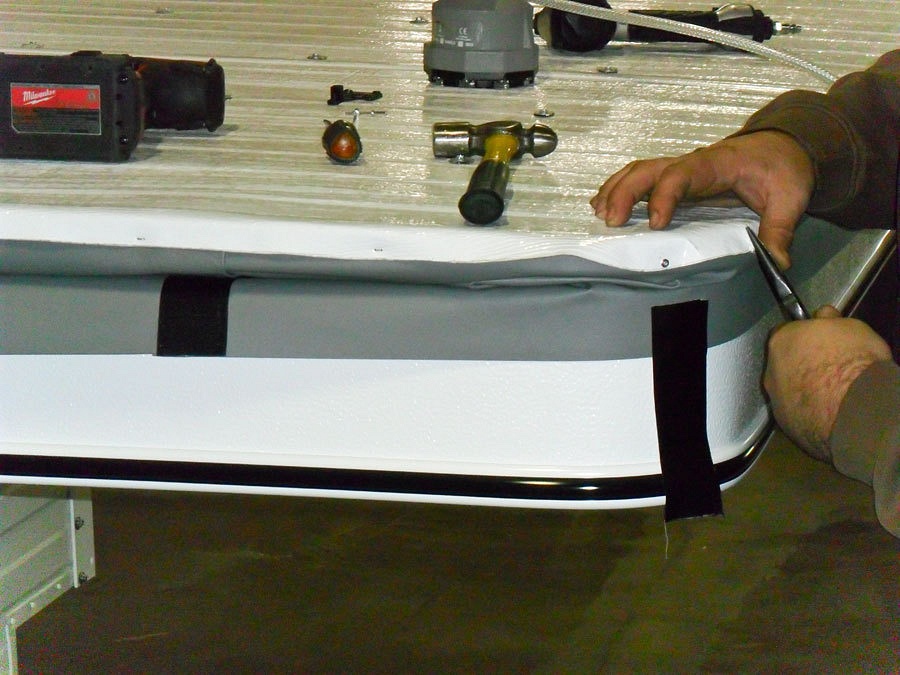
The roof
sheeting is carefully molded over and stapled into place. I love that nice arch
to the roof.
Brad takes
special care around the front corners and pop rivets installed.
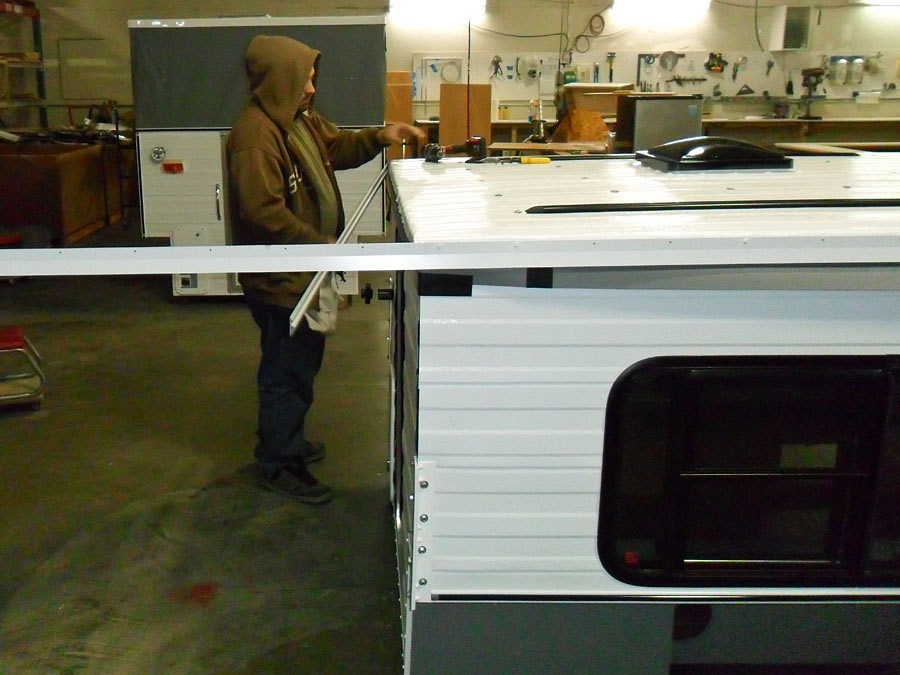
Brad then
molds the trim piece around the perimeter of the roof.
It is
looking good and that graceful arch to the roof is still evident.
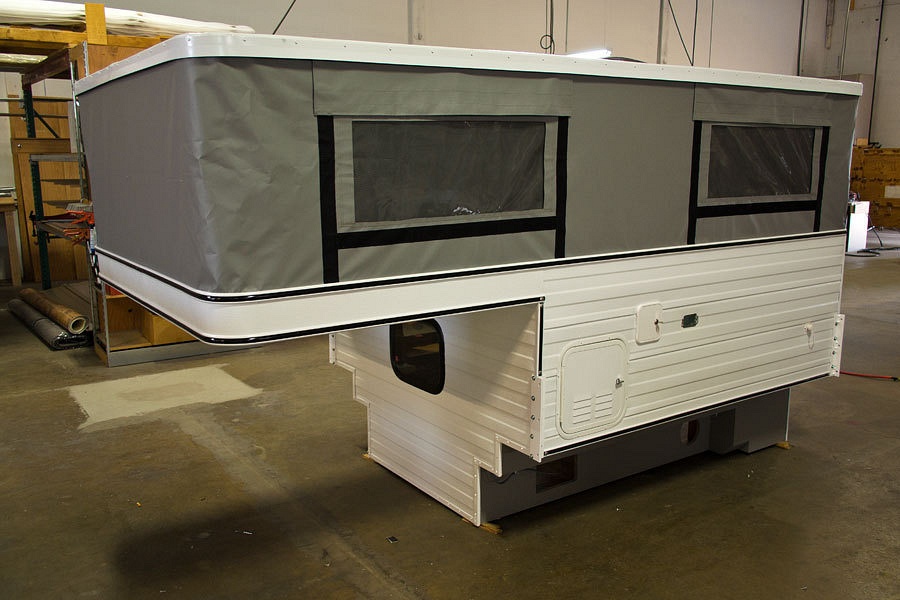
I stopped by
around noon the next day. I could hardly control my excitement with the sight
before me.
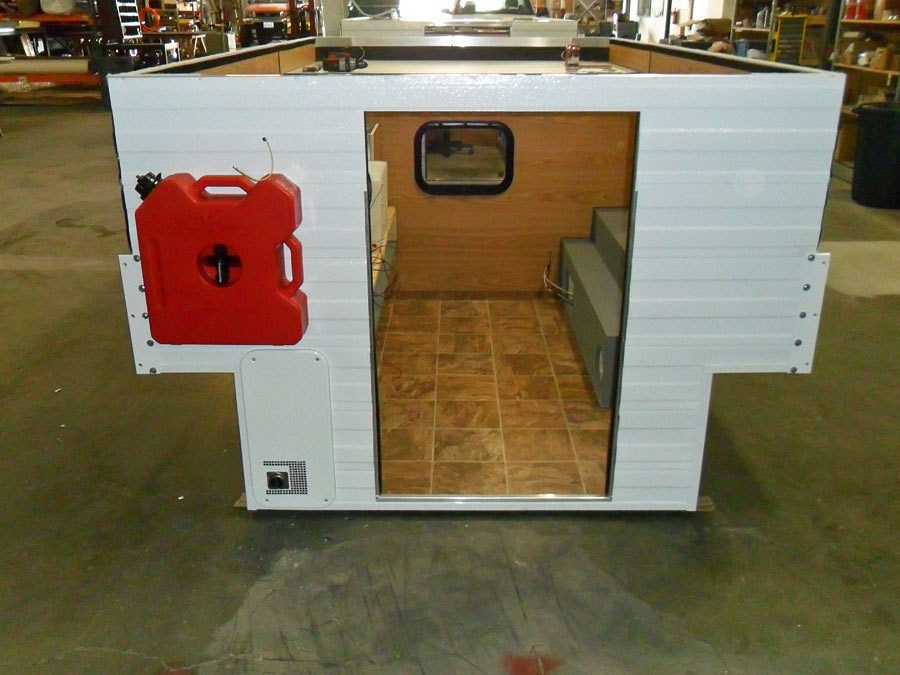
This is
really looking great!
Marty asked,
“How do you like the two inch higher lift panels?”
“It is
luxurious to have headroom. I can grow my hair longer now. I’m going back
inside to look at it again!”
It was one
of those moments where I just wanted to continue looking at our new camper. A
door installed and a couple of small items and it will be ready for delivery.
“When do you
want to get it?” Marty asked.
“The Lady
wants to come down also when we get it.”
We went in
the office. I suggested Marty leave a message on her cell phone asking when she’d
like to pick up her camper. I gave Marty the number.
“You’ll just
get her message. She never answers her phone. Most of the time it’s not on.” I
explained. Marty waited for the message. Instead, the Lady answered. Marty was
a bit tongue tied, “Can’t I have the voicemail?” He recovered quickly. “This is
Marty at All Terrain Campers. When can you come down to get your new camper?”
Thursday!
It was
Thursday afternoon.
“Can you
back a truck under a camper?” Marty asked me.
“Like I’ve
never done it before?” I answered knowing Marty was kidding.
I got in the
driver’s seat and wondered if I’d embarrass myself. Four years ago this
operation scared the crap out of me. Both the Lady and I have gotten much
better. With Marty on one side and Brad on the other, easily visible in the
side mirrors, it was only a few moments – “You’re there. Cut the motor.”
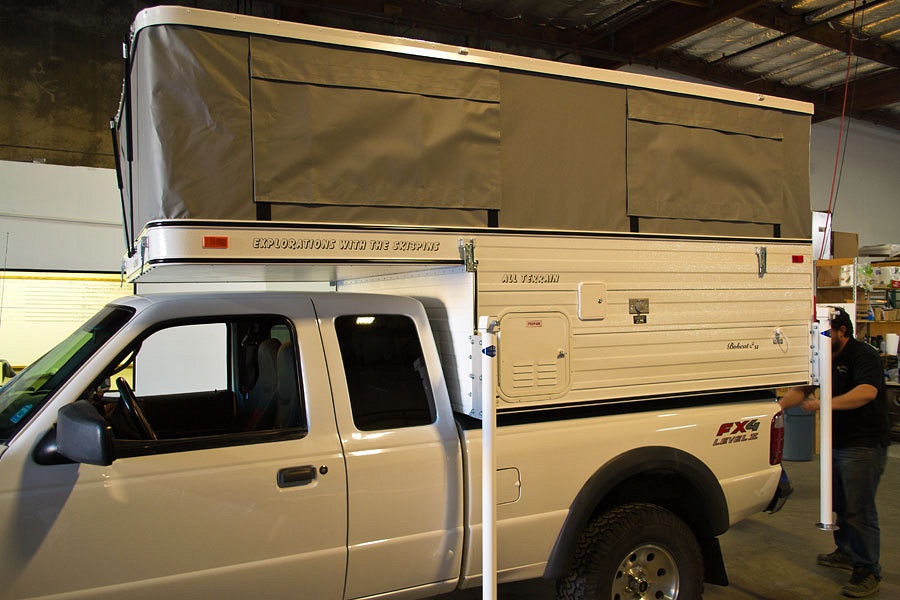
Our new
camper was on our truck.
We could not
be happier with the quality of these guys work and the camper they built and
the care they took in making this dream come true for us. It looks right at
home, right in its place.
I asked the
guys to pose for a group photo, Jeff, Marty, the Lady, Brad, and Chad.
Again, a
big thank you to All Terrain Campers allowing me to document the building of
our camper and taking photos for me when I was not there.
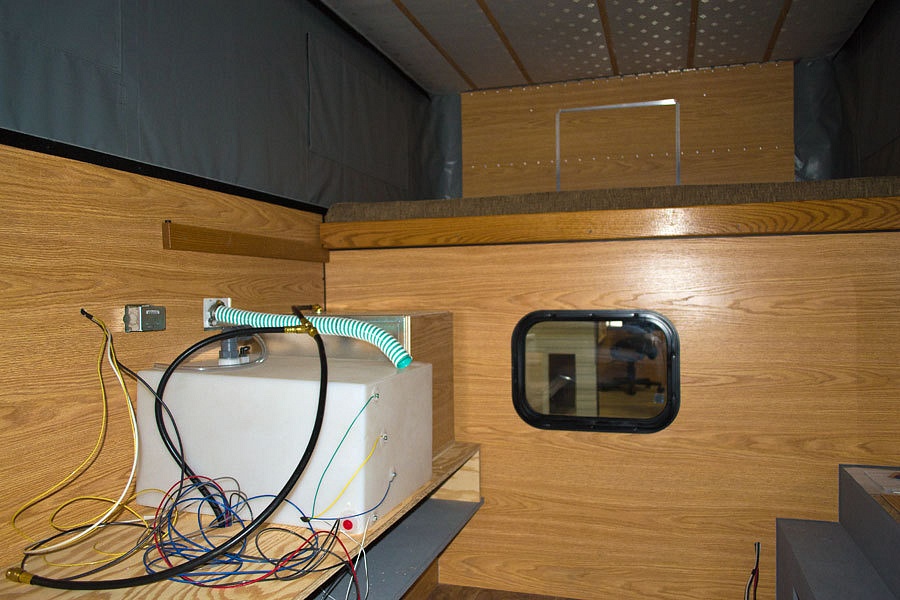
Yes, I was
in the camper before dawn this morning. I checked my drawings and notes and
plans. All the placements of wiring and other layout to help with how the
interior will be built are right on. Thanks again guys! This is great! On with
the build.
To be
continued………………………………………………………