
please remember you can click on a photo to see a larger version & highlighted text are links to additional information
Grows Arms and Legs
Every project has the potential to grow arms and legs. Here is a recent story that well documents this fact. It started with my right butt cheek and our old truck. The truck is now 18 years old and has 215,000 miles on the odometer. It is in great shape, is well maintained, it ably takes us everywhere we want to drive, and it suits our needs perfectly. One aspect of the truck we have always liked is its incredibly comfortable seats. Their comfort and support shine on rough dirt roads and these seats only came in the Level II FX4 package on this vintage Ford Ranger. Back to my butt. The last year I started to notice a bit of loss of support under my right bun. The seat had developed a wear pattern.
We are not cheap. We are frugal. In the same way we are disinclined to write a check for $40,000 or more for a new truck - yup, we've driven several of the new makes and models and none excite us - the same is true for spending several hundred dollars for rebuilding our seats by an automotive upholsterer. At least not before we had a look inside ourselves.
I started research and learned all I could about seat construction. Note - when we bought this truck I also purchased a factory shop manual. It is now well grease stained and dog eared. With the research, first thing I learned is that new OEM seat cushions are no longer available. Aftermarket options do not exist. I watched YouTube videos on rebuilding foam. Before deciding on a repair, we had to get a good look at our seats. We removed the seats from the truck and pulled them apart. The foam was in remarkably good condition - no tears, no dried out crumbling foam. The seat covers are also in great shape with little wear. I found several YouTubes on restoring foam cushions with steam. It was worth a try.
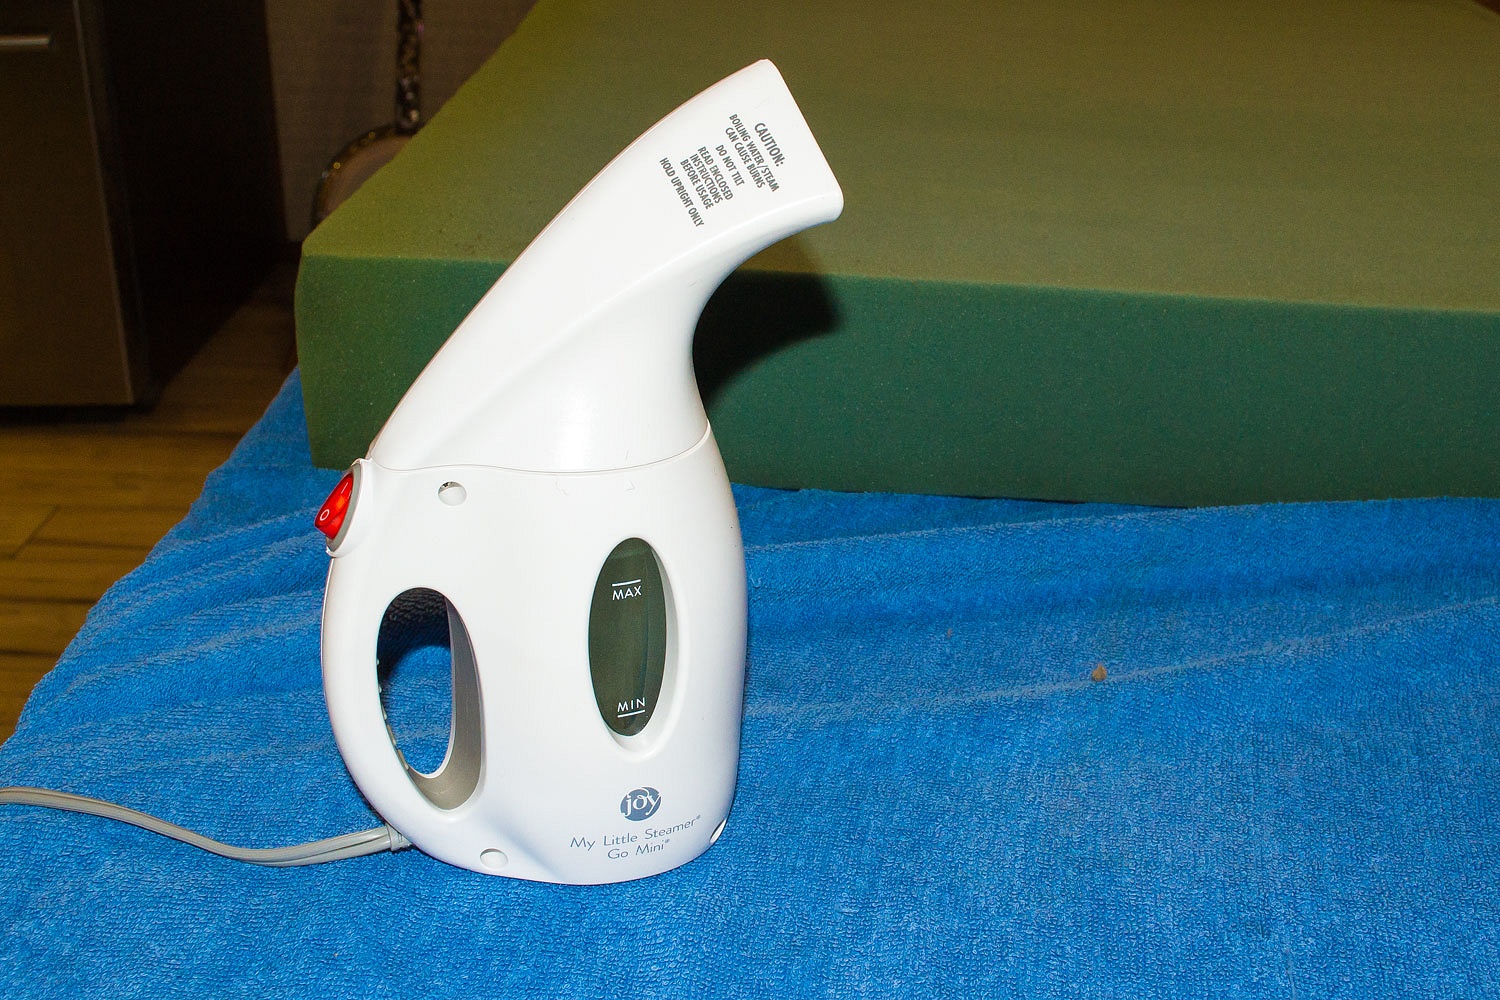
We borrowed a small garment steamer from a friend.
It was amazing how the foam responded. Although the hot steamed foam dried quickly, we gave them a couple of extra days to dry and this is where the first growth of arms and legs occurred. I suggested, since the seats were disassembled, we should install seat heaters. Now was the time. We love the heated seat feature in the Lady's Subaru Crosstrek.
We ordered a universal two seat Rostra kit from Summit Racing over in Reno. The UPS truck delivered it the next day (a reason we buy from Summit Racing) . We ran two new dedicated circuit hot wires under the carpet, along with a ground, to under the (removed) center console (each seat heater is a 10 amp circuit). The control switches, relays and such are installed in the center console.
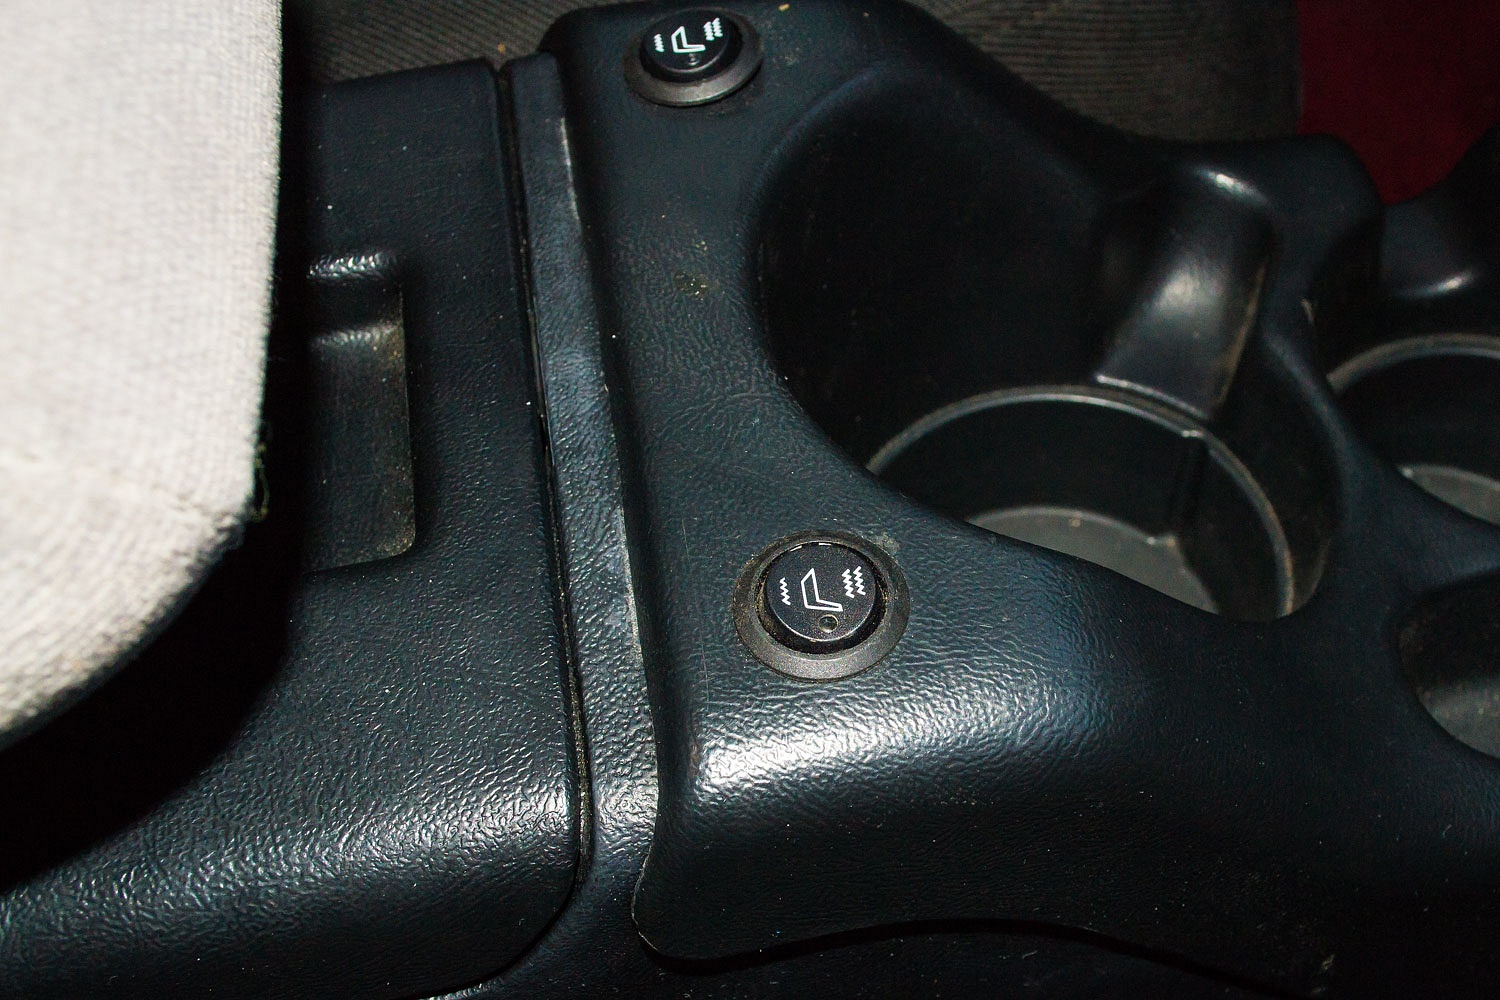
The heat pads are installed on top of the foam cushions followed by the seat covers. The seats were reinstalled in the cab and connected to the new underseat wiring.
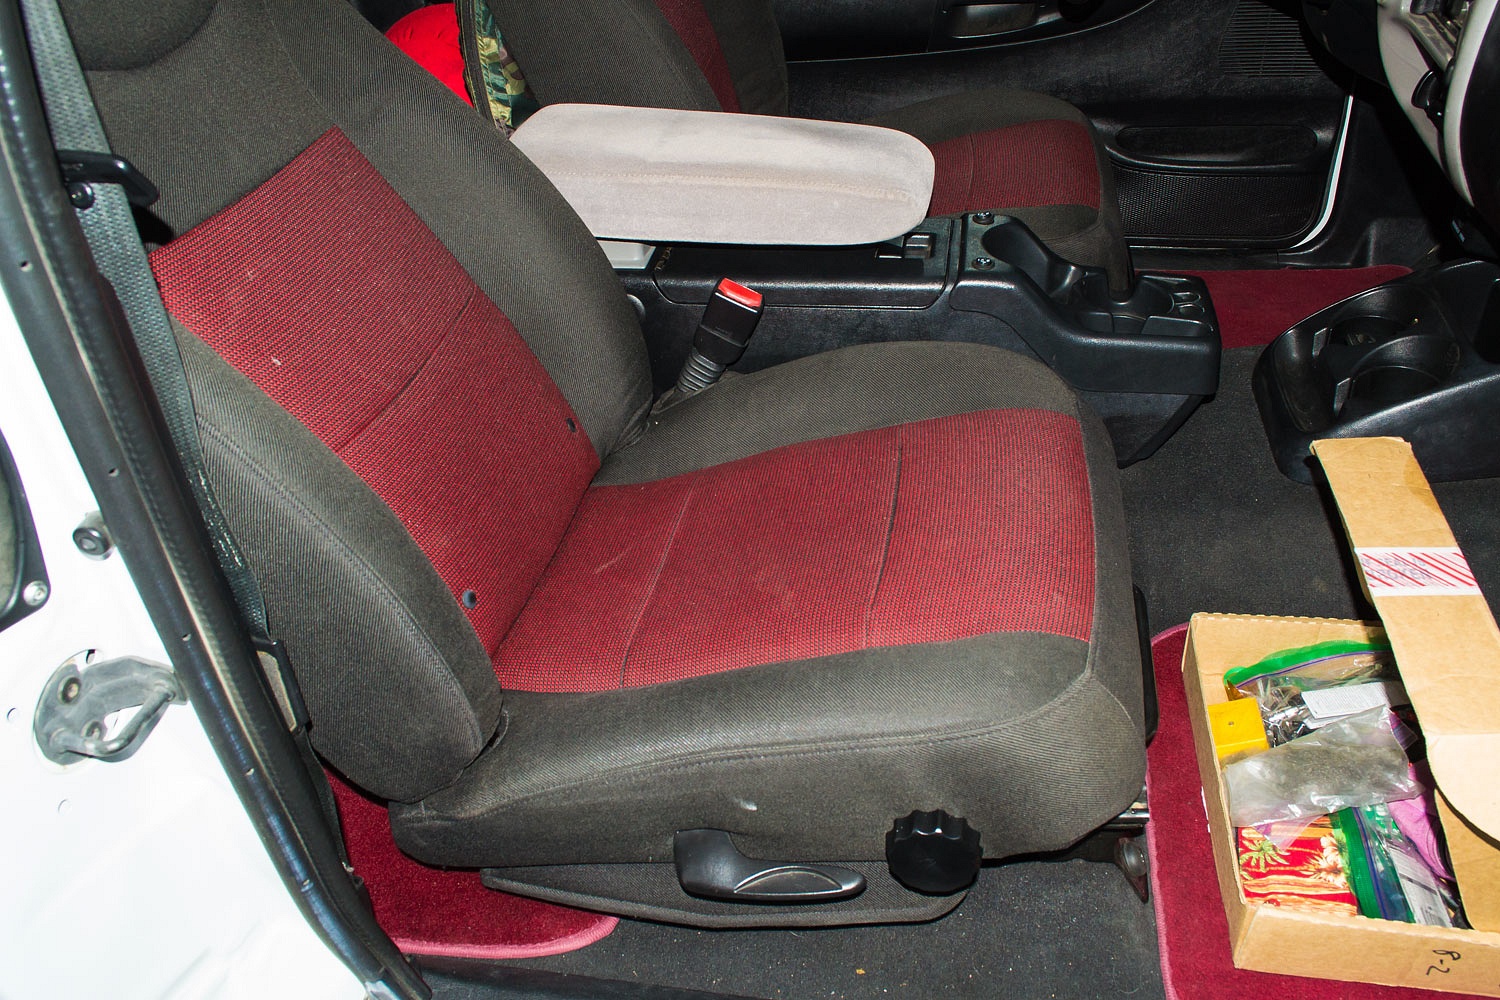
We will find out how long the steam treatment will last. With the good condition of the foam, I'm hopeful for good results and feel the project was well worth the effort and labor. The seats feel new. And the heated seats? Pure decadence, comfort and luxury.
Ah, but this is all a prelude to the real reason I'm writing this. The project grew arms and legs.
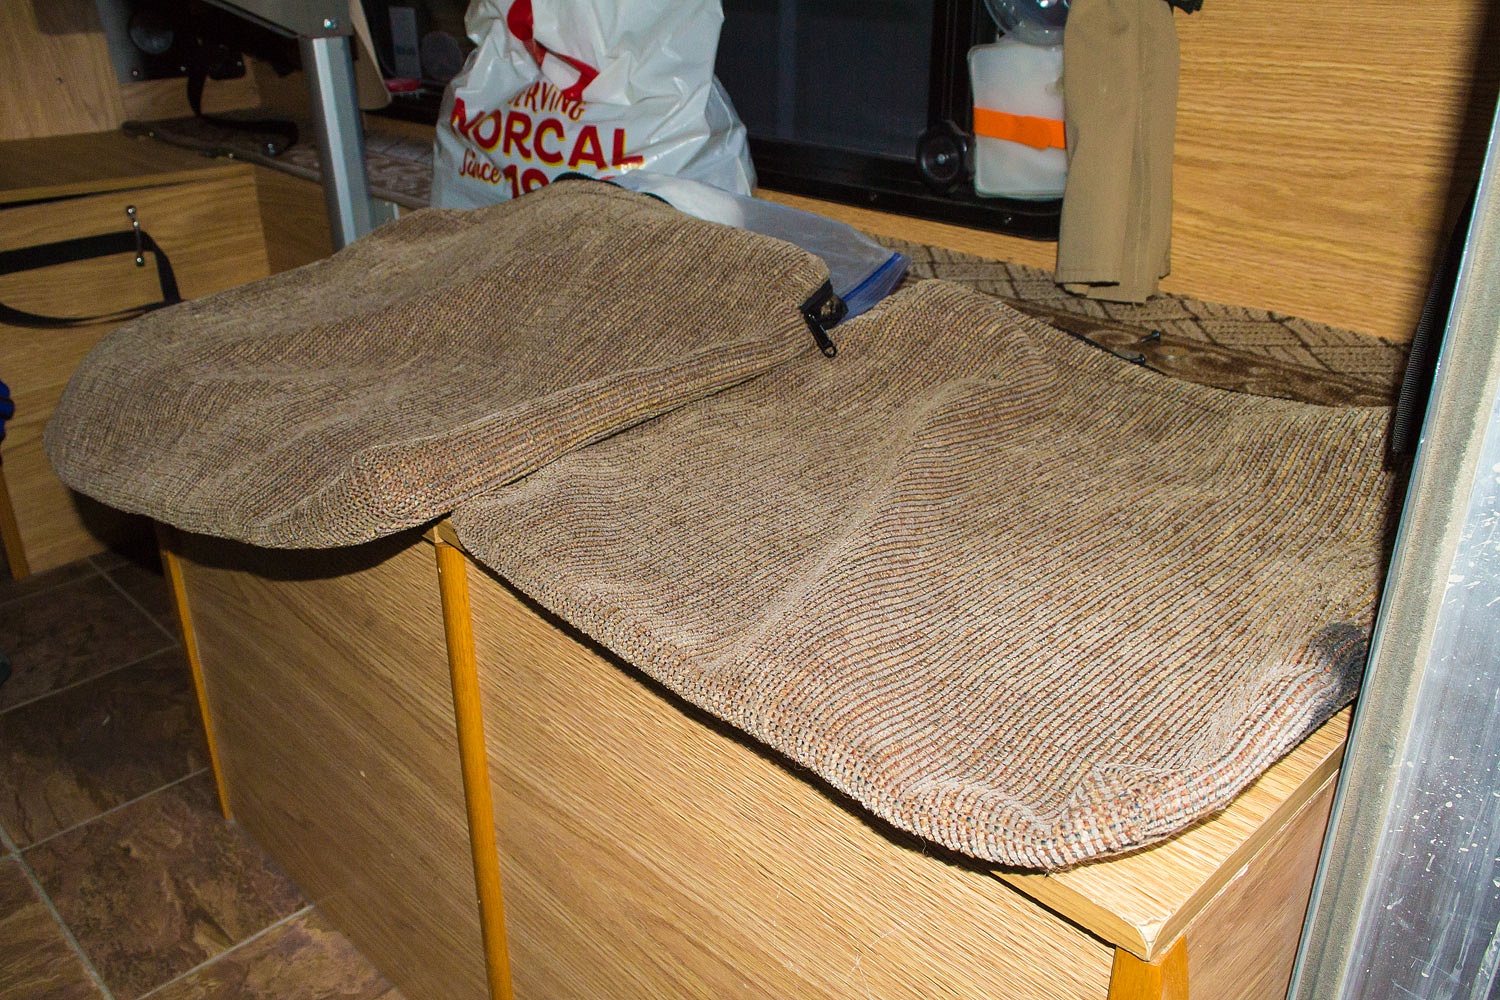
"We ought to try steaming the seat cushions we had ATC make for our storage bin lids in the camper," the Lady suggested. The three cushions were removed and the covers unzipped and pulled off.
"What about the covers?" I asked the Lady.
"I've already talked with Marty (with All Terrain Campers). He said just put them in the washer."
In the washer they went.
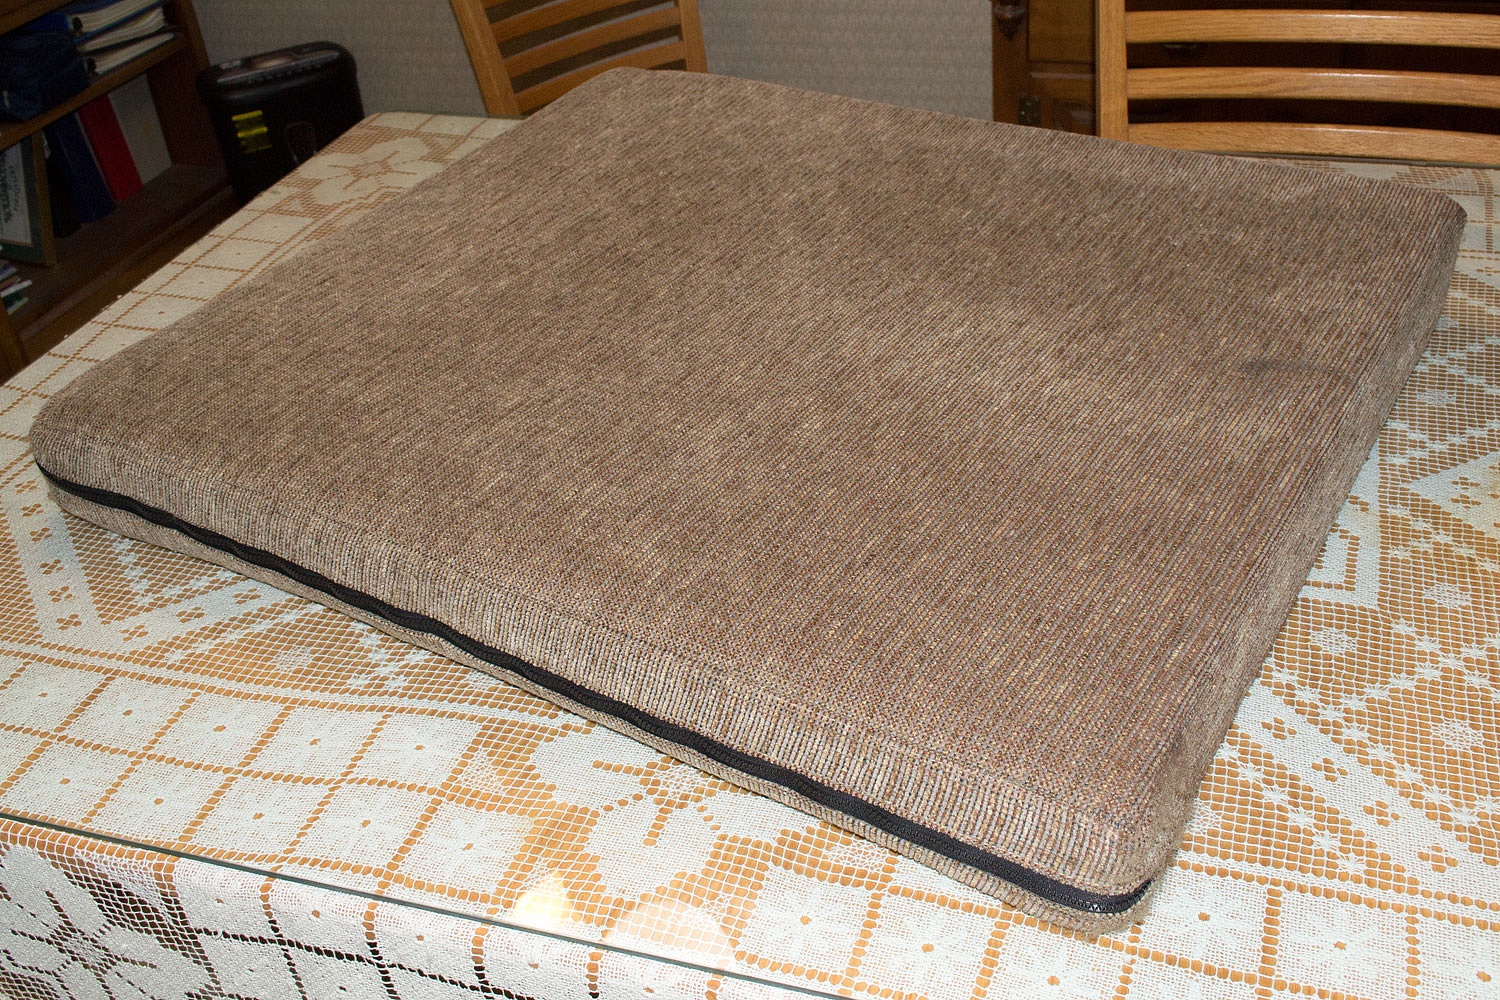
The steam restored the foam to full height and crisp edges.
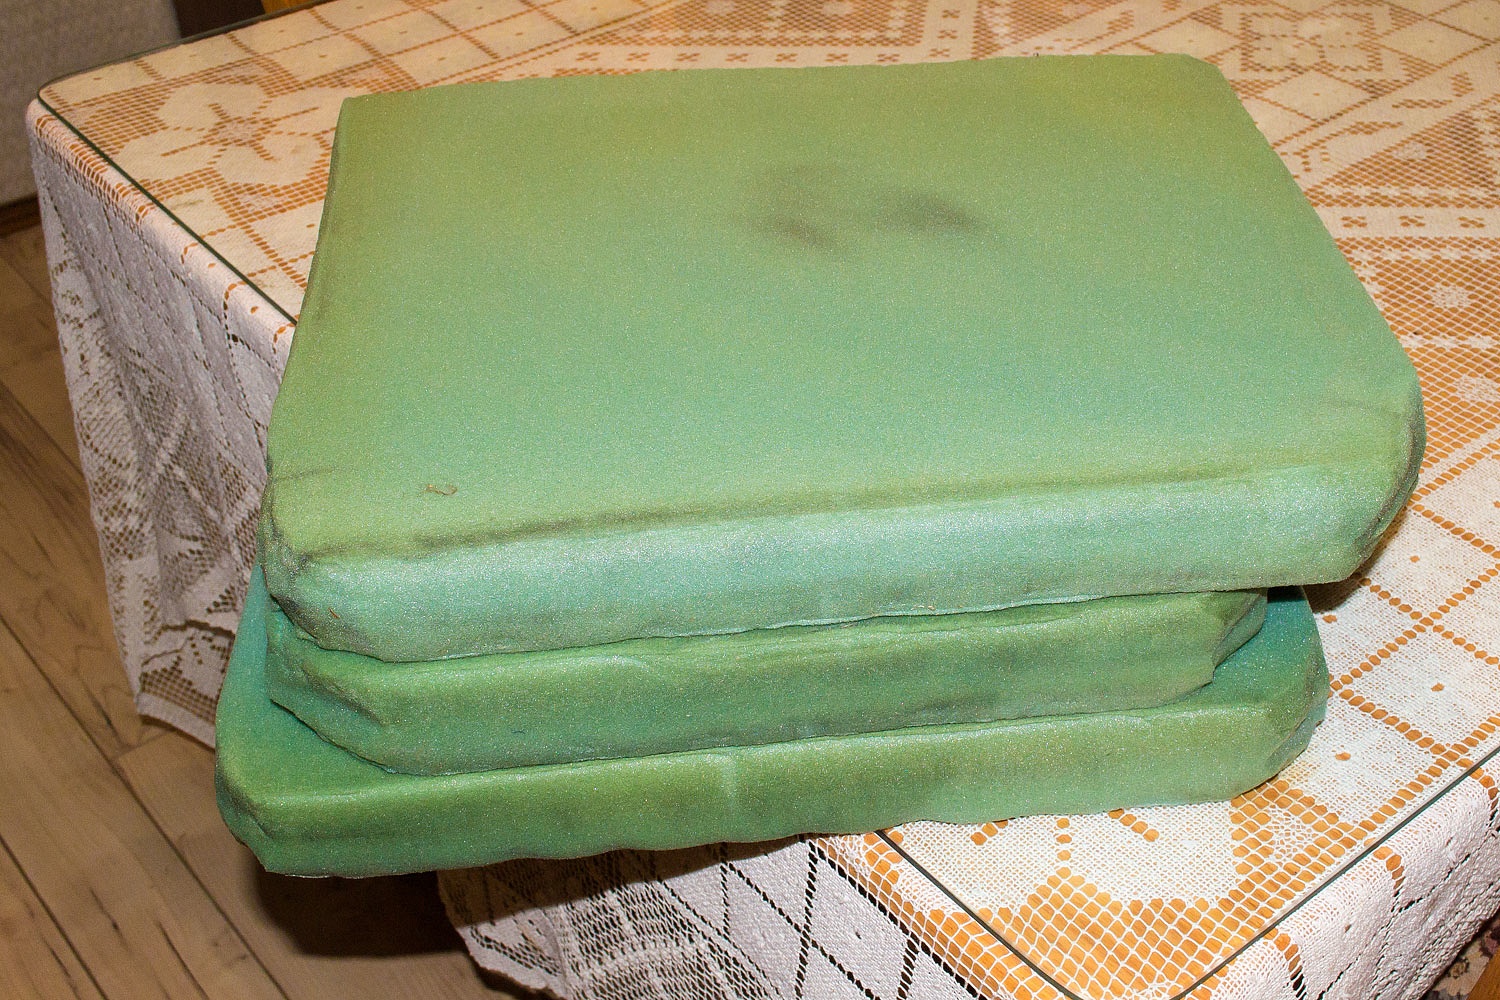
Sorry, I do not have any "before" photos. It was at this stage that I decided to begin photo documenting the project. The Lady climbed in the camper and reattached the covers to the plywood lids and then stuffed the rejuvenated cushions back inside.

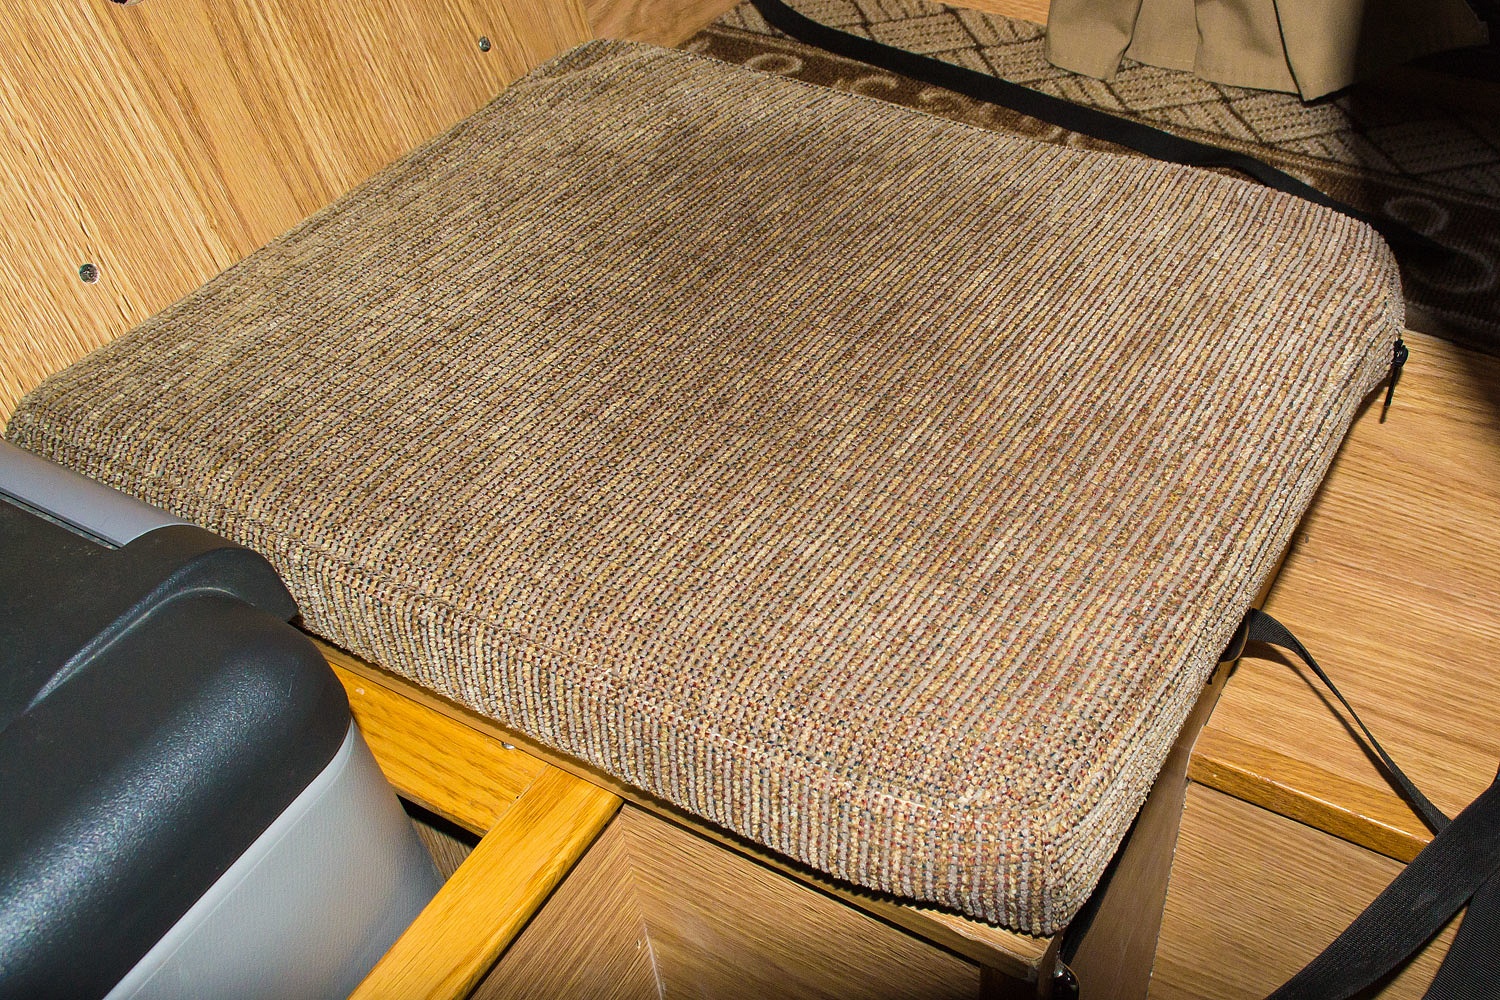
Note: the right cushion has a permanent black mark from rubbing the aluminum interior door frame.

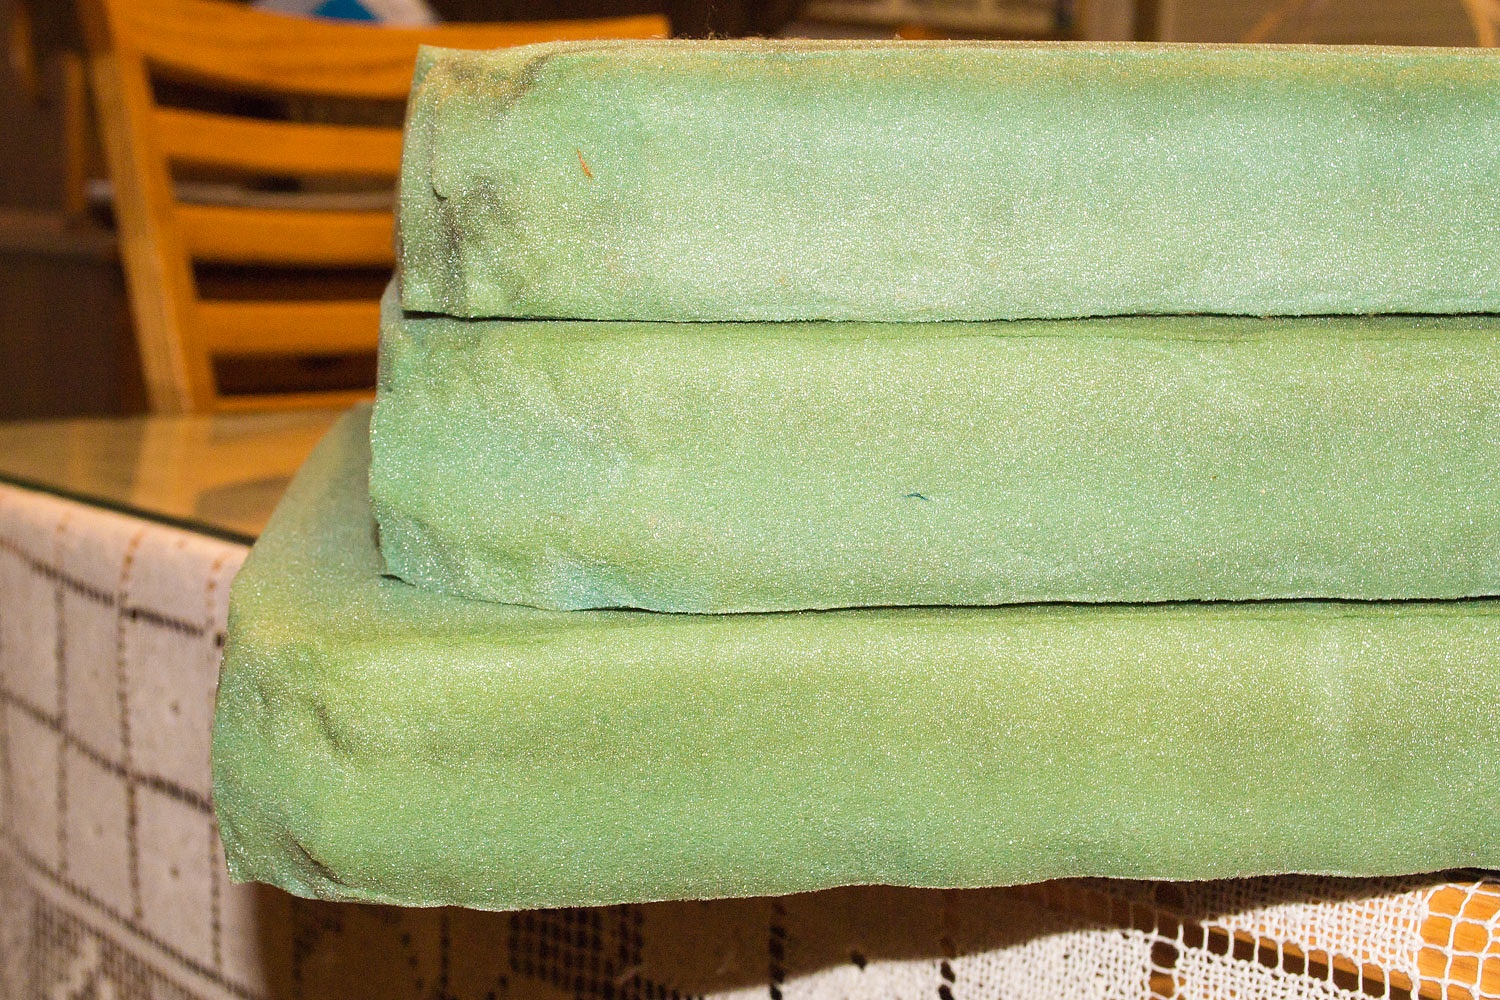
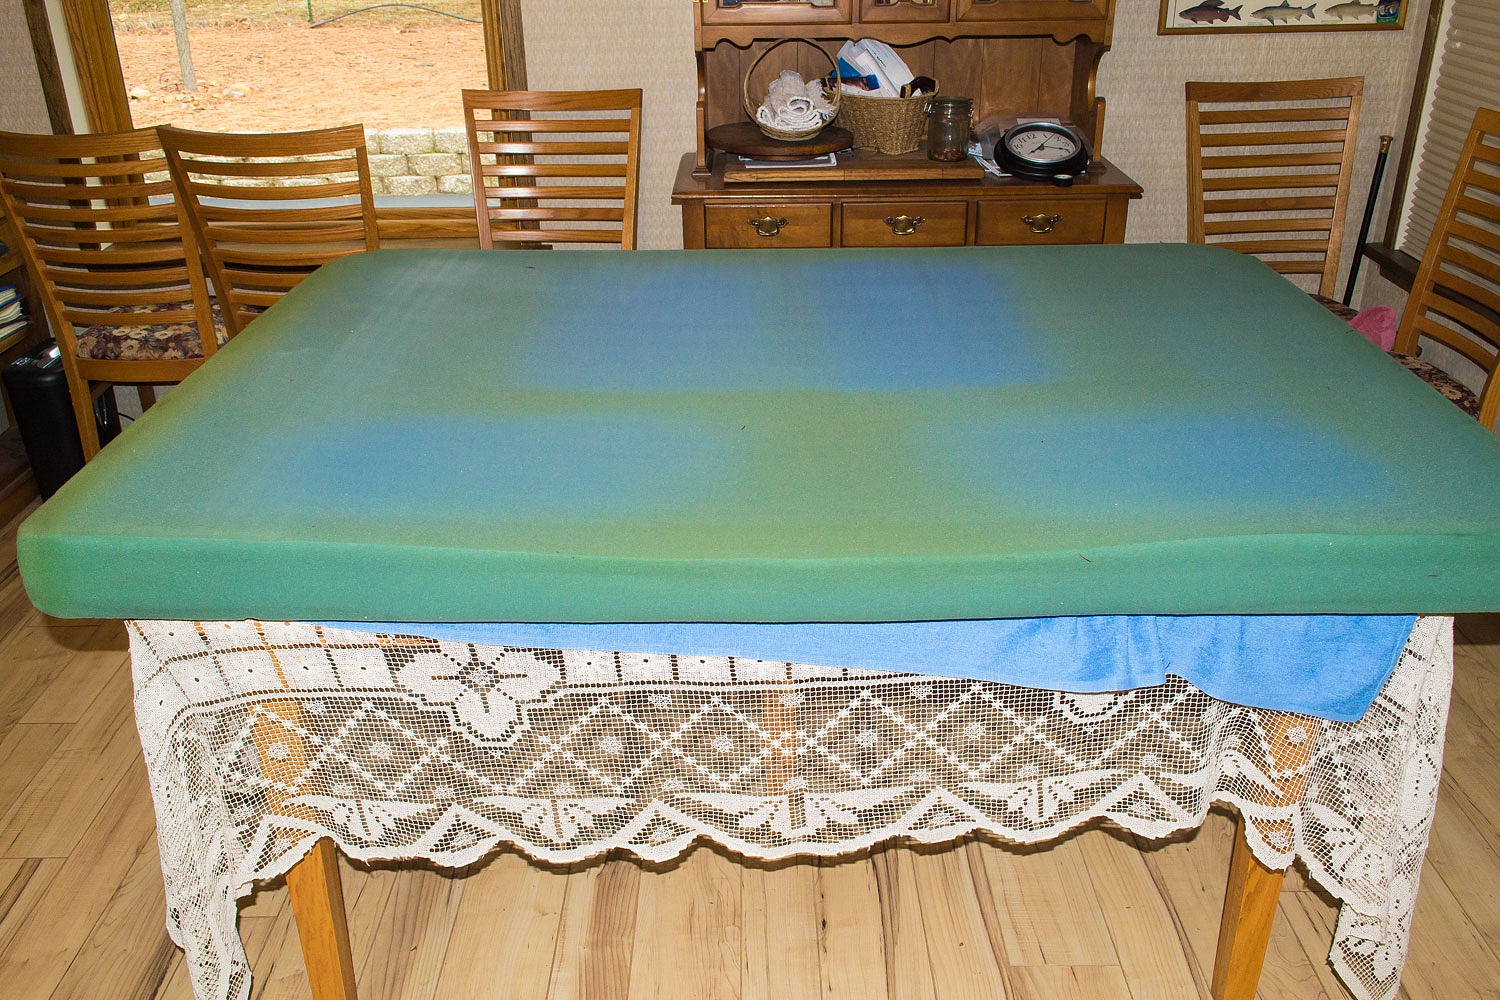
You know what happened next, right? It grew arms and legs. "How 'bout the bed cushions?" the Lady asked. Our camper has three cushions for our bed - one large one that is always in place in the cabover and two small ones for the area when the slide is pulled out to increase bed size. We went to work.
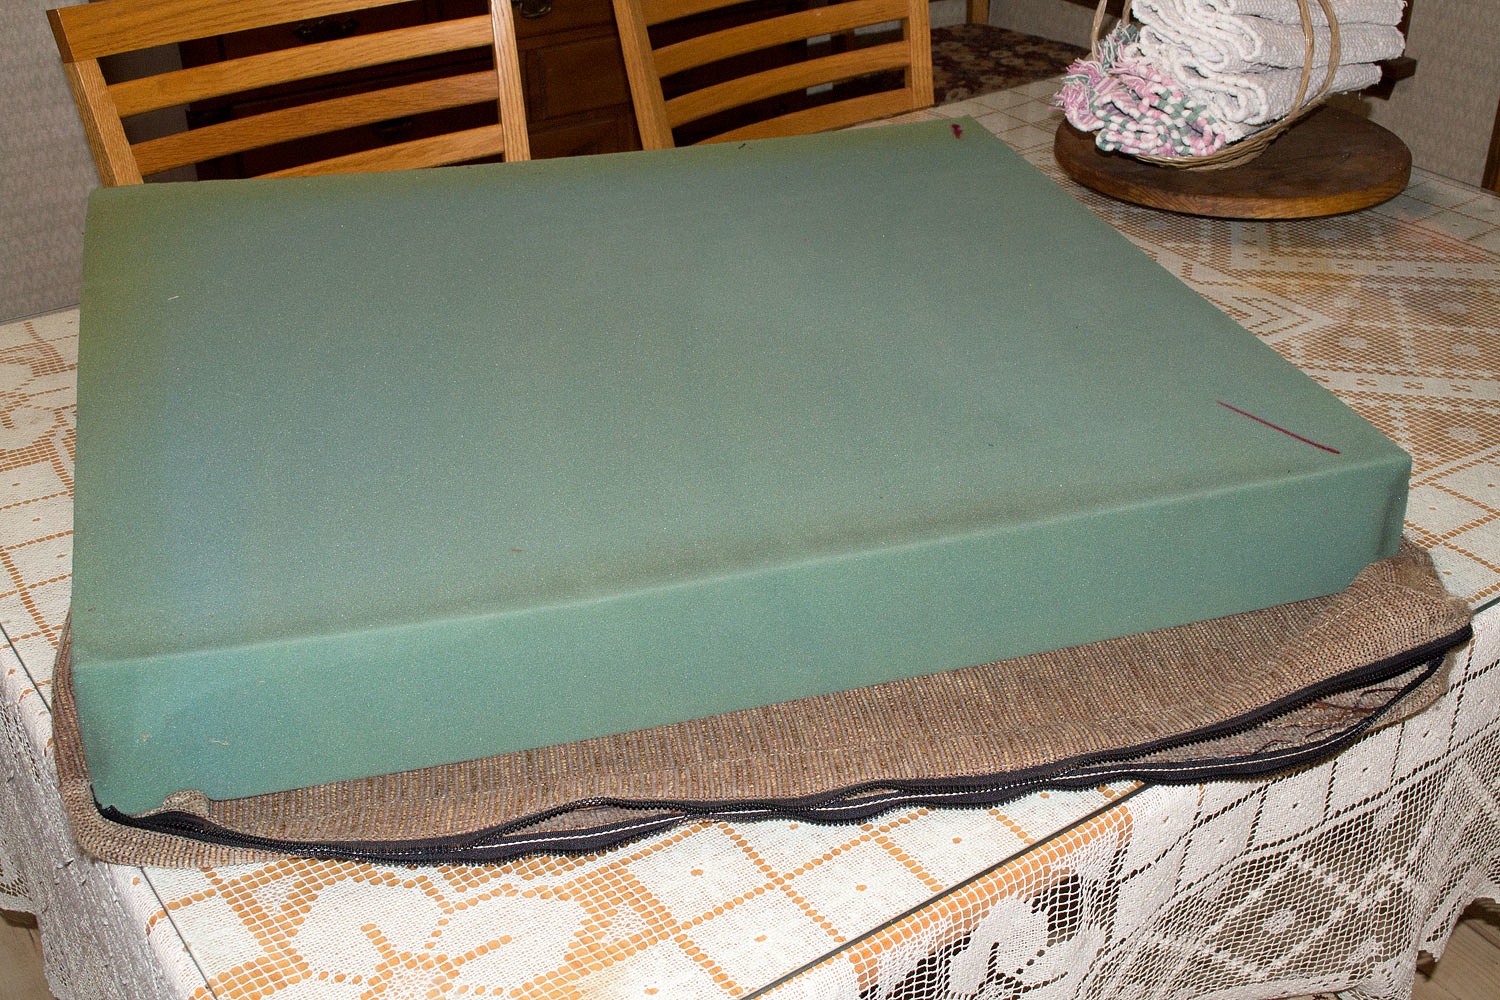
Here is a before of the large cushion with a noticeable sag in the center where our butts usually reside during sleep.
The covers went in the washer and dryer.
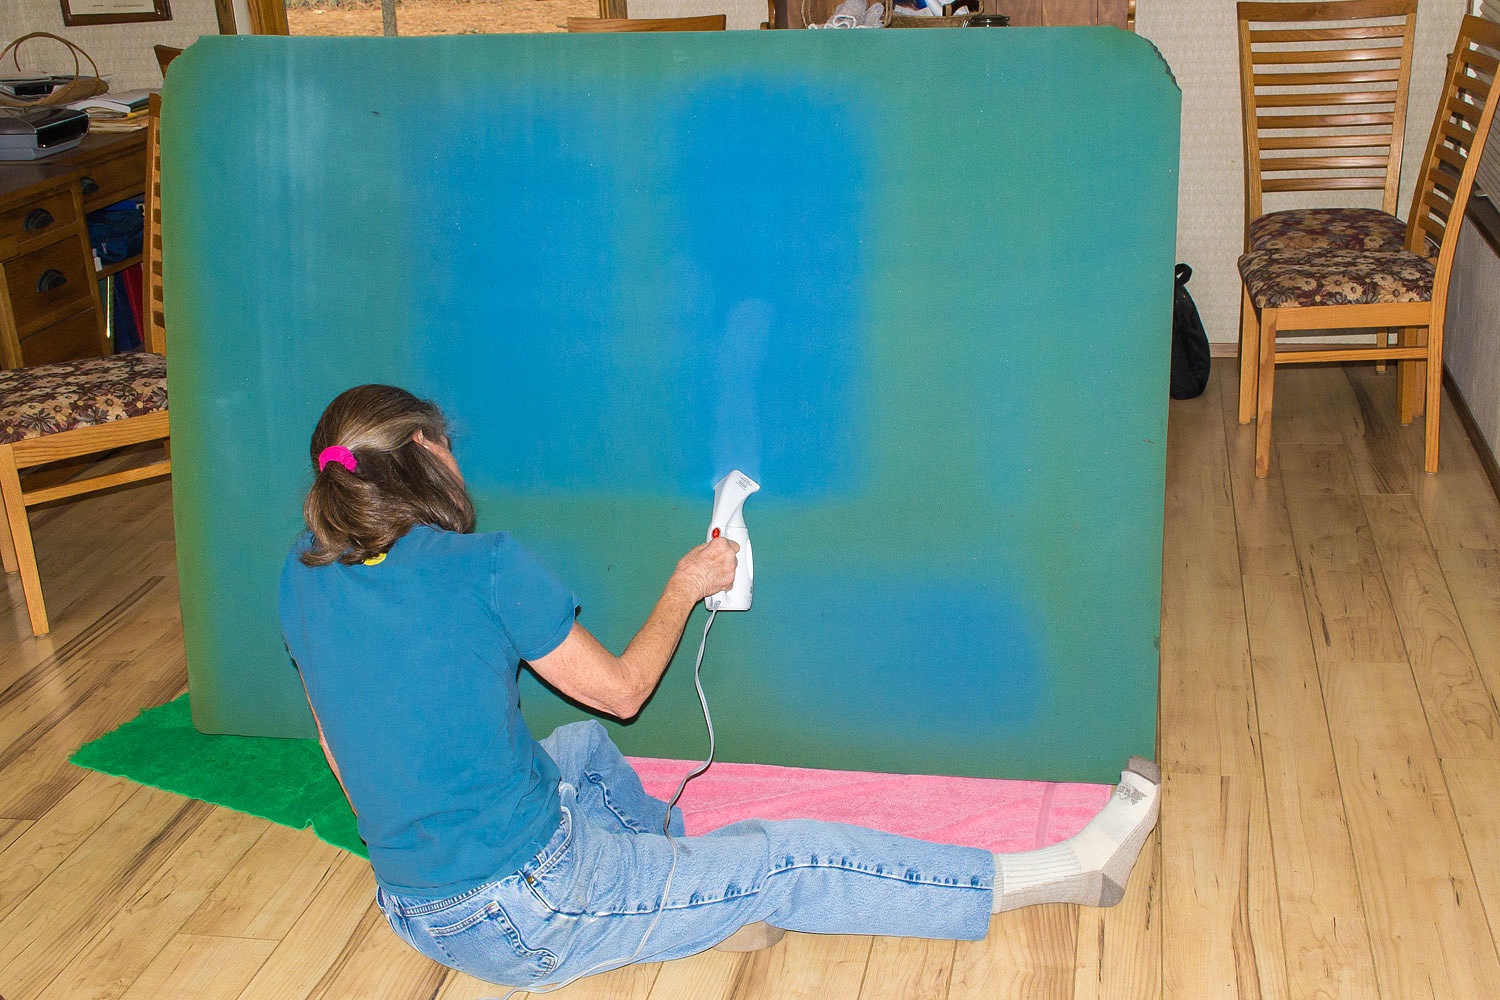
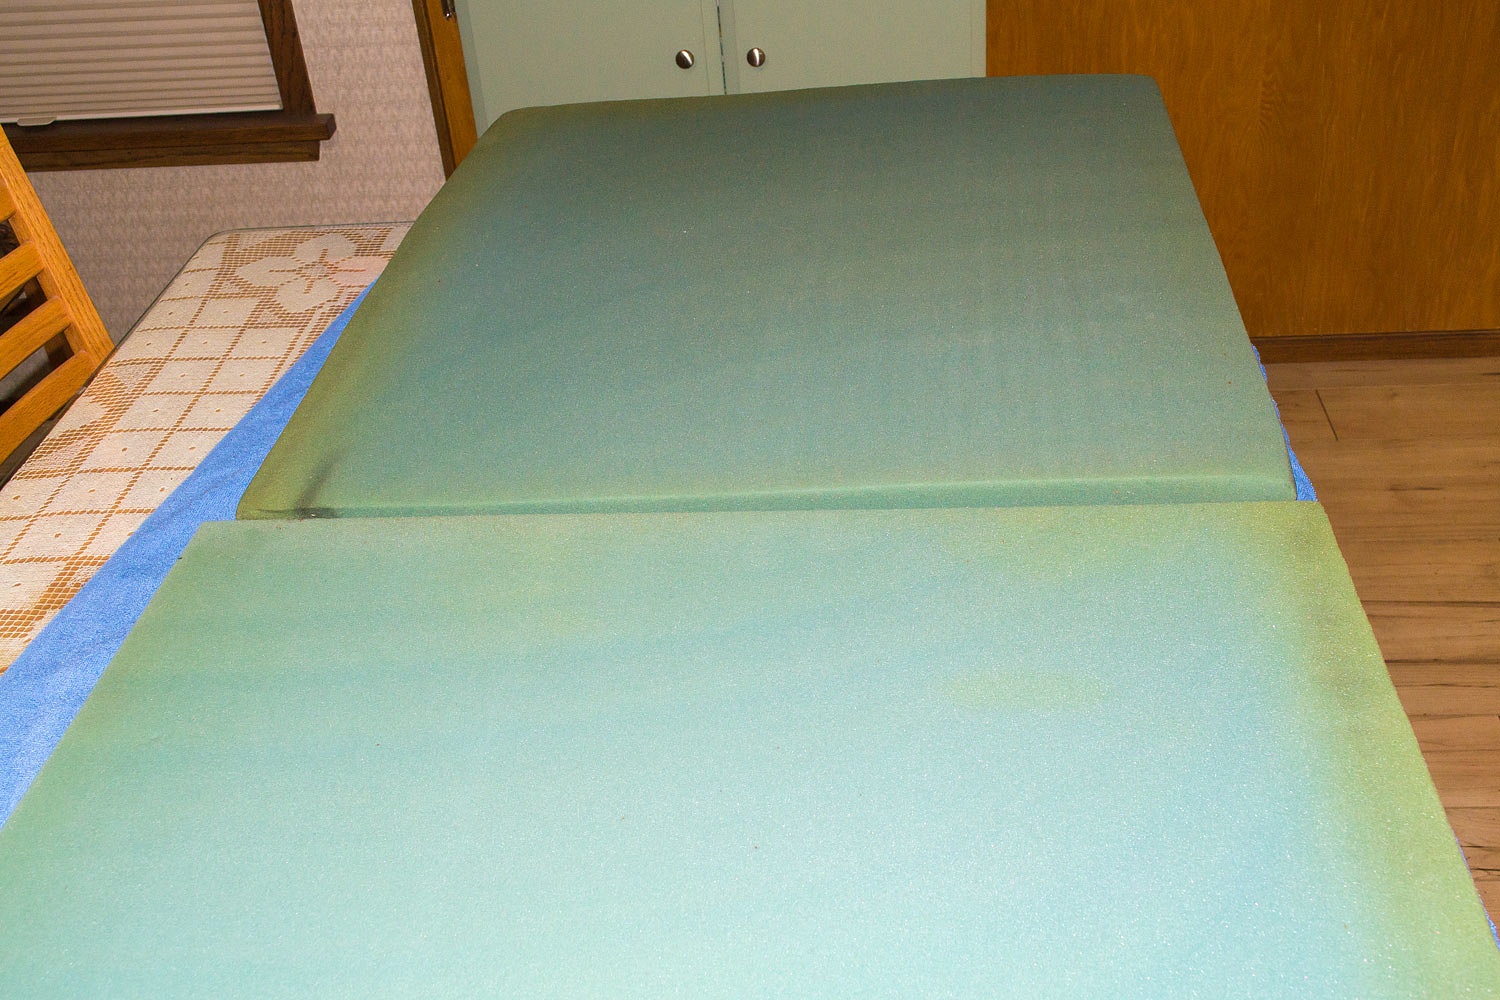
Here are a few photos of how the foam responded.
Below is cushion 2 (Julie labels everything). The right hand edge has been steamed and the bulge back to original dimensions is evident.

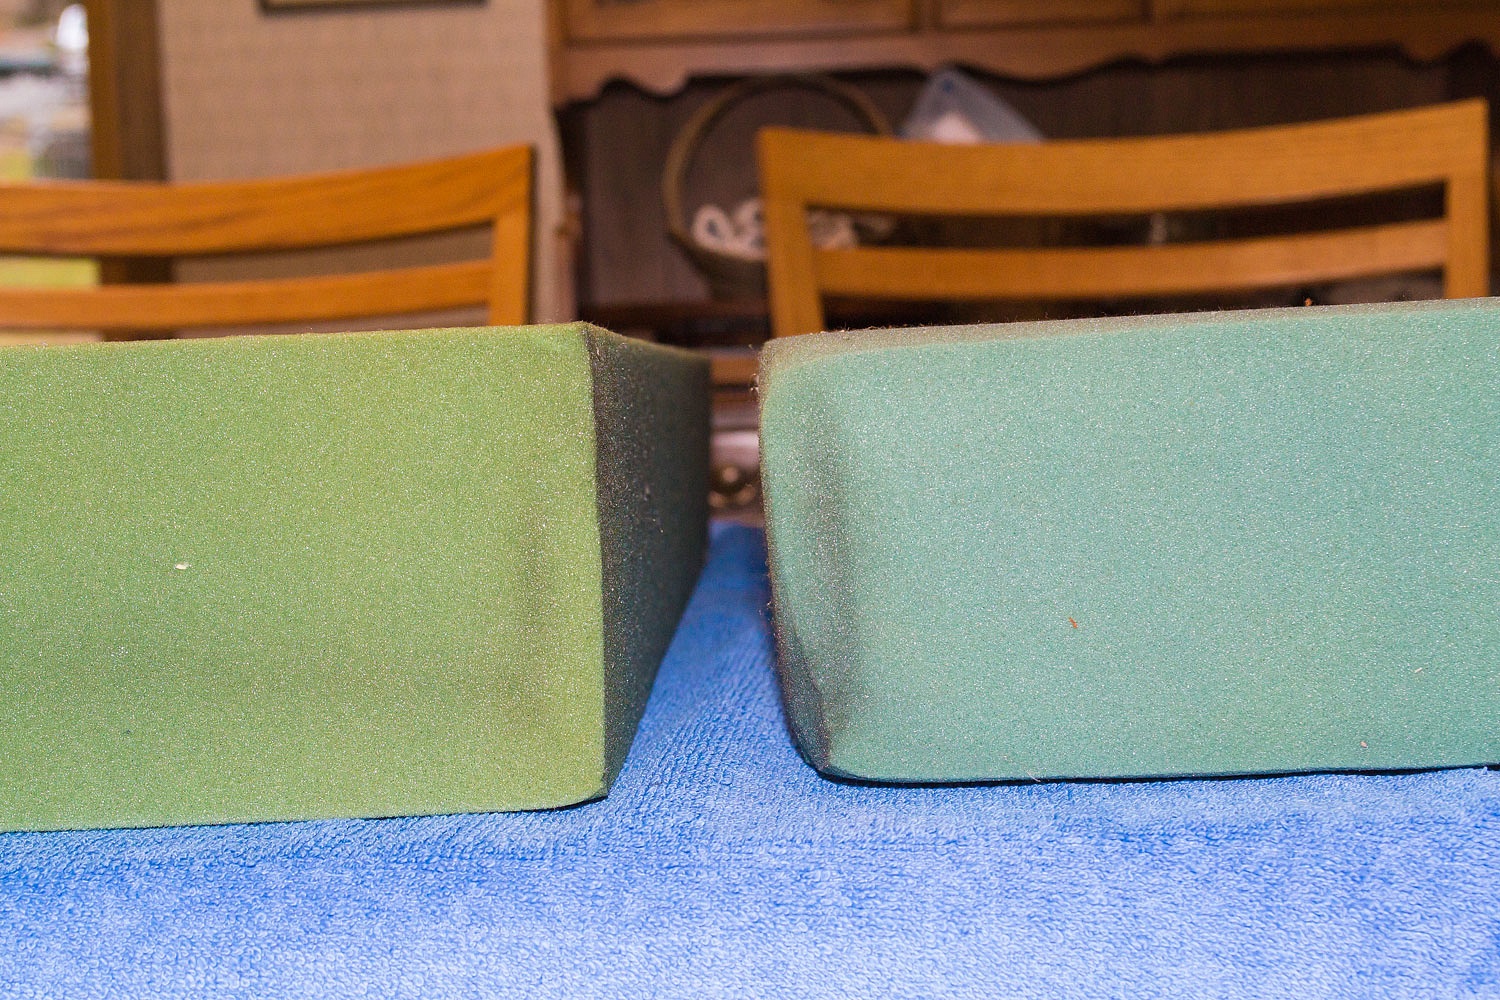
Below - the cushion in the foreground has been treated with steam. The second is presteam for a comparison.
Steamed on the left and unsteamed on the right below.
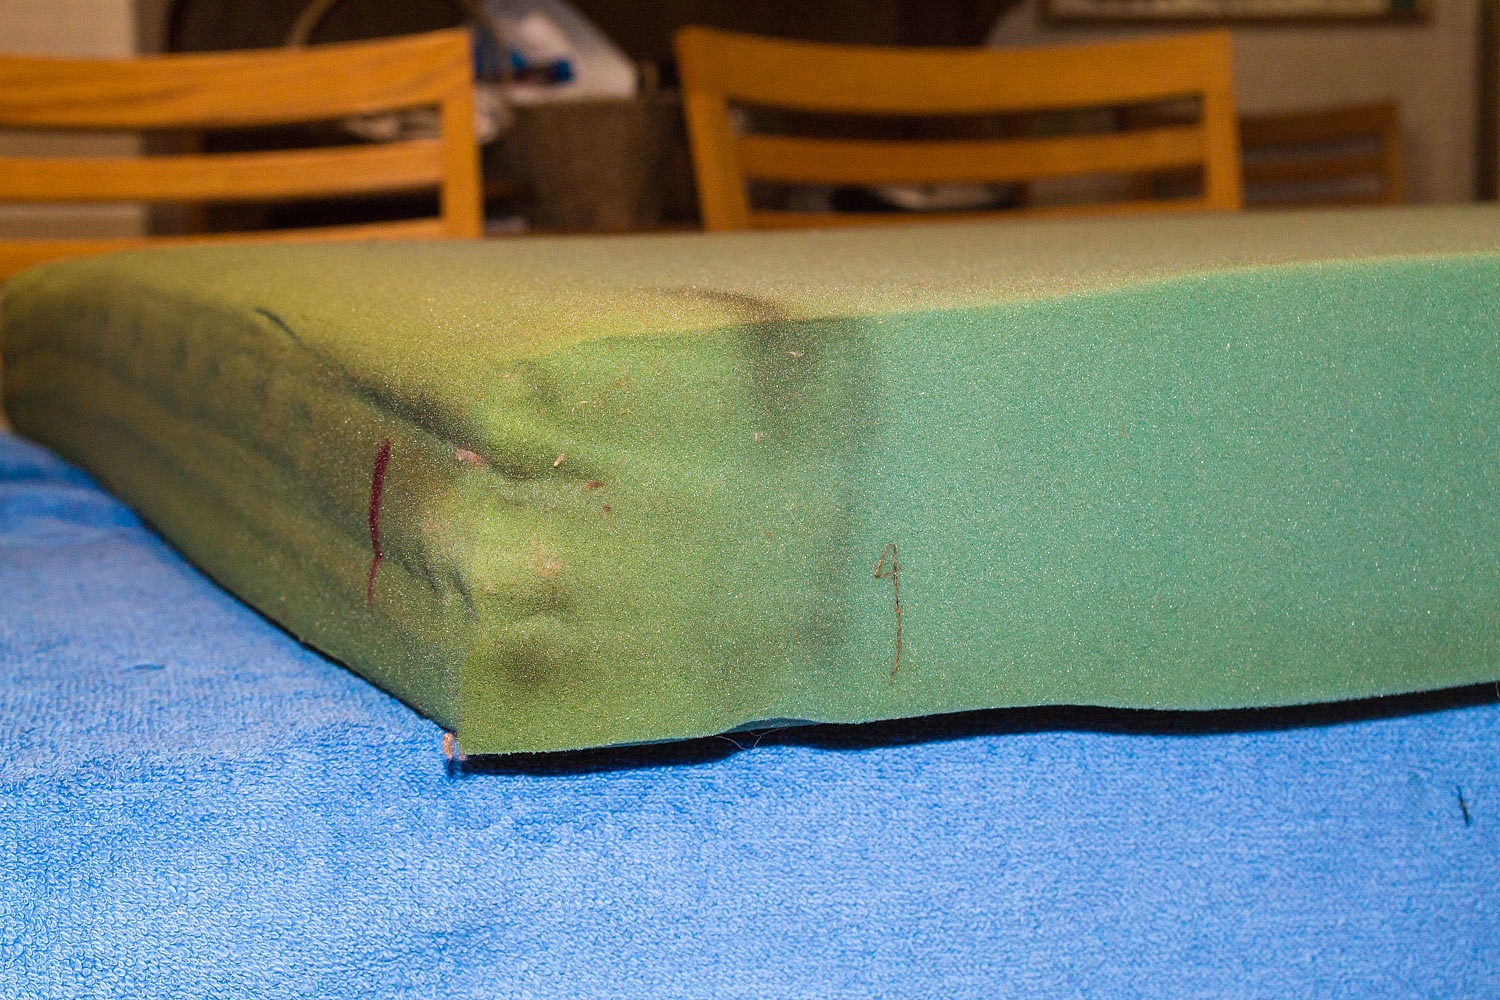
Below is a corner of cushion 1. The far right edge of the cushion has been steamed in the first photo. The second photo shows the difference after completing the steam treatment.

We are very pleased with the results. There was no change in size or shape after the foam dried. A second benefit is the thorough steam cleaning of the foam so with washing the covers, everything is now clean and refreshed.
I'll add, we find the foam pads that All Terrain Campers use in their campers are very comfortable to sleep on. So just like our truck seats, we want these to last as long as possible. I should also note that these pads have gotten a lot of use in the seven years we've had the camper. They all feel brand new now.
I expect that washing the covers and steaming all the cushions in the camper will become an annual spring cleaning ritual.
In regards to the small garment steamer we borrowed. The small volume of water and frequent refills was not much of a problem because the unit heats up so quickly. A larger steam head would be much nicer. Since we are frugal, I'll watch craigslist for a nearby used floor unit with a hose and wand for a few bucks. The Lady wants to steam and remove the wallpaper in the dining room. Arms and legs, arms and legs.
Brilliant solution to a very common problem!! Thanks for posting this. And don't apologize for the seat heaters -- given the wild and cold places that you usually visit, you need all the warmth you can get.
ReplyDeleteThanks Dan. Happiness is warm buns!
DeleteI am a little timid about throwing the covers in the washer but it sounds like it works well. Any tips? Zippers closed or open type of detergent and what cycle? I would certainly appreciate the information, thank you very much and definitely going to try the steamer once I can pick one up at a reasonable cost.
ReplyDeleteWe washed them in our front load washer regular cycle cold water. The zippers were open. We used regular cycle on the dryer also. We didn't find any issues doing this with our cushion covers. Good luck to you.
Deletehi ski. did u also document your buildout of the shell? i am a new atc shell owner, and now am at the point i can start the build, but am dealing with a bit of parilysis ? going for a minimal build, but want to at least get it directionally right from the start.
ReplyDeleteYes I did. Please look at Our All Terrain Camper in the menu bar across the top of the page.
DeleteWe're thinking about doing this project, but worry about drying out our cushions in this wet winter. Did it take long to dry out your cushions? Thanks
ReplyDeleteThe steam and moisture evaporates quickly but I'd keep them in a warm, dry environment for as long as possible.
Delete