Tuesday, January 5, 2021

Foam Cushion Maintenance - December 2020

 please remember you can click on a photo to see a larger version & highlighted text are links to additional information


Grows Arms and Legs


Every project has the potential to grow arms and legs. Here is a recent story that well documents this fact. It started with my right butt cheek and our old truck. The truck is now 18 years old and has 215,000 miles on the odometer. It is in great shape, is well maintained, it ably takes us everywhere we want to drive, and it suits our needs perfectly. One aspect of the truck we have always liked is its incredibly comfortable seats. Their comfort and support shine on rough dirt roads and these seats only came in the Level II FX4 package on this vintage Ford Ranger. Back to my butt. The last year I started to notice a bit of loss of support under my right bun. The seat had developed a wear pattern.


We are not cheap. We are frugal. In the same way we are disinclined to write a check for $40,000 or more for a new truck - yup, we've driven several of the new makes and models and none excite us - the same is true for spending several hundred dollars for rebuilding our seats by an automotive upholsterer. At least not before we had a look inside ourselves.


I started research and learned all I could about seat construction. Note - when we bought this truck I also purchased a factory shop manual. It is now well grease stained and dog eared. With the research, first thing I learned is that new OEM seat cushions are no longer available. Aftermarket options do not exist. I watched YouTube videos on rebuilding foam. Before deciding on a repair, we had to get a good look at our seats. We removed the seats from the truck and pulled them apart. The foam was in remarkably good condition - no tears, no dried out crumbling foam. The seat covers are also in great shape with little wear. I found several YouTubes on restoring foam cushions with steam. It was worth a try.


We borrowed a small garment steamer from a friend.
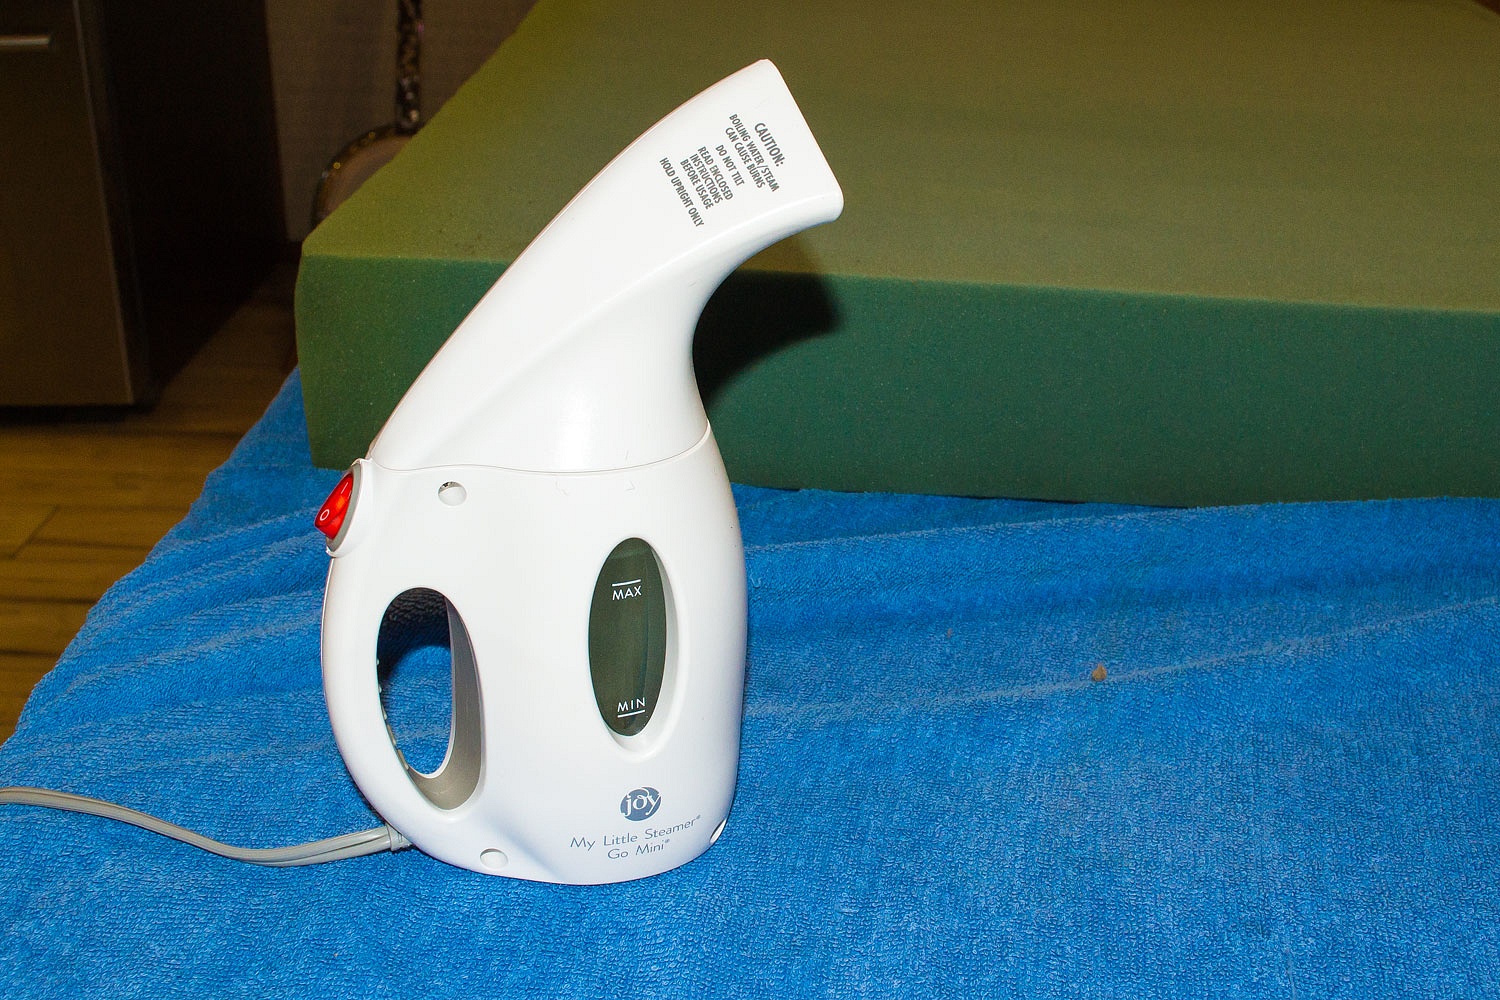


It was amazing how the foam responded. Although the hot steamed foam dried quickly, we gave them a couple of extra days to dry and this is where the first growth of arms and legs occurred. I suggested, since the seats were disassembled, we should install seat heaters. Now was the time. We love the heated seat feature in the Lady's Subaru Crosstrek.


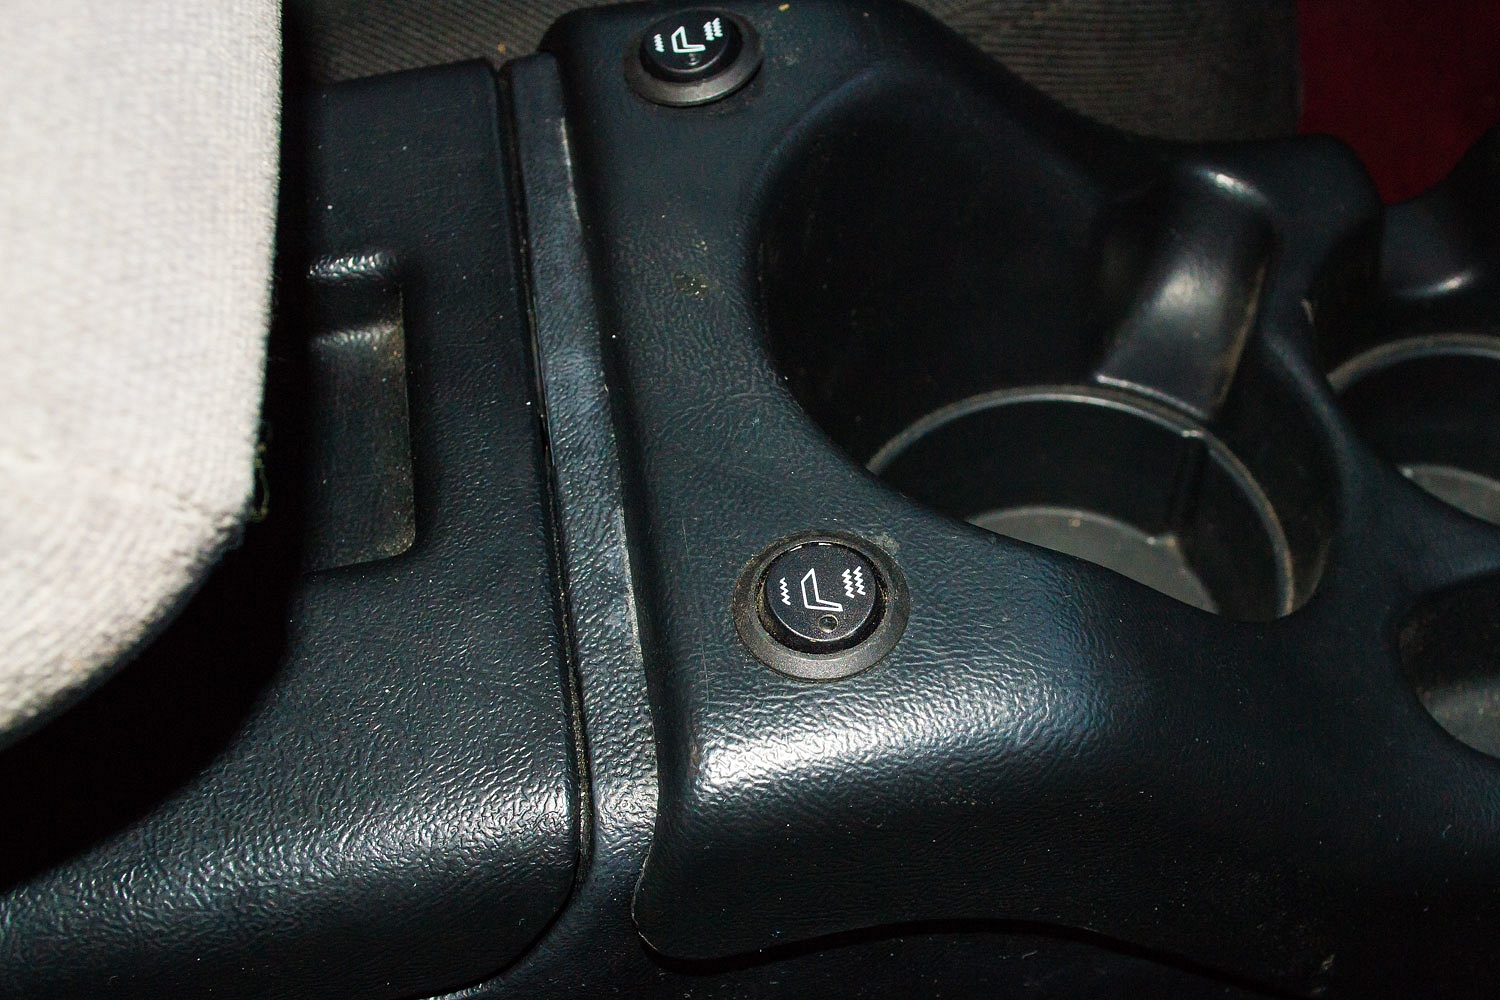
We ordered a universal two seat Rostra kit from Summit Racing over in Reno. The UPS truck delivered it the next day (a reason we buy from Summit Racing) . We ran two new dedicated circuit hot wires under the carpet, along with a ground, to under the (removed) center console (each seat heater is a 10 amp circuit). The control switches, relays and such are installed in the center console.


The heat pads are installed on top of the foam cushions followed by the seat covers.  The seats were reinstalled in the cab and connected to the new underseat wiring.
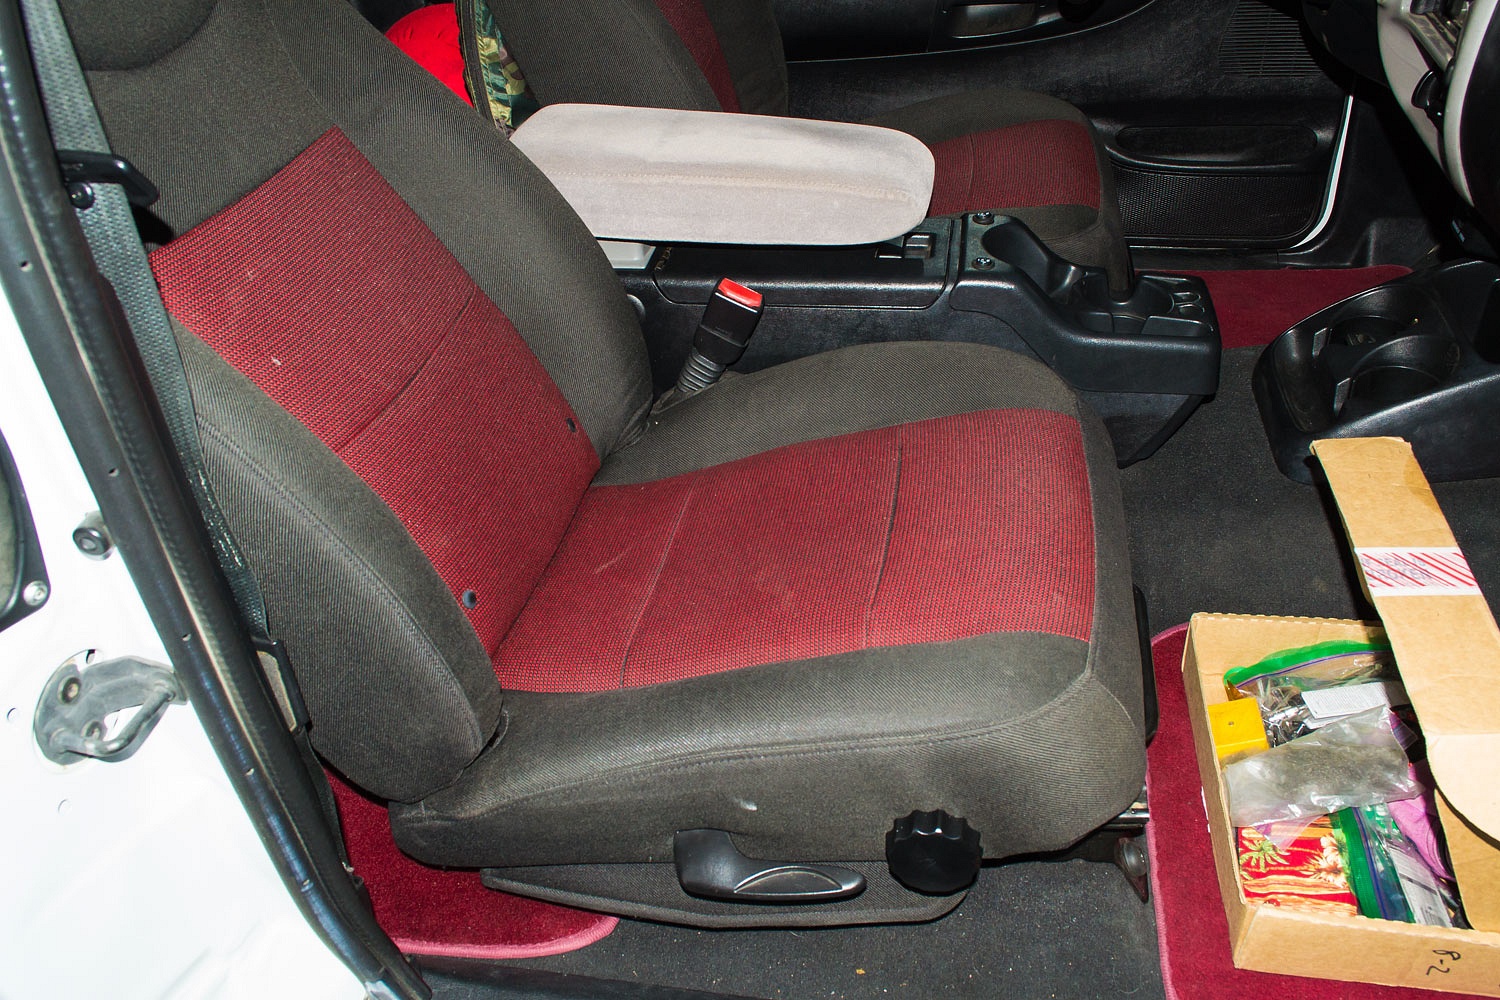


We will find out how long the steam treatment will last. With the good condition of the foam, I'm hopeful for good results and feel the project was well worth the effort and labor. The seats feel new. And the heated seats? Pure decadence, comfort and luxury.


Ah, but this is all a prelude to the real reason I'm writing this. The project grew arms and legs.


"We ought to try steaming the seat cushions we had ATC make for our storage bin lids in the camper," the Lady suggested. The three cushions were removed and the covers unzipped and pulled off.

"What about the covers?" I asked the Lady.

"I've already talked with Marty (with All Terrain Campers). He said just put them in the washer."

In the washer they went.


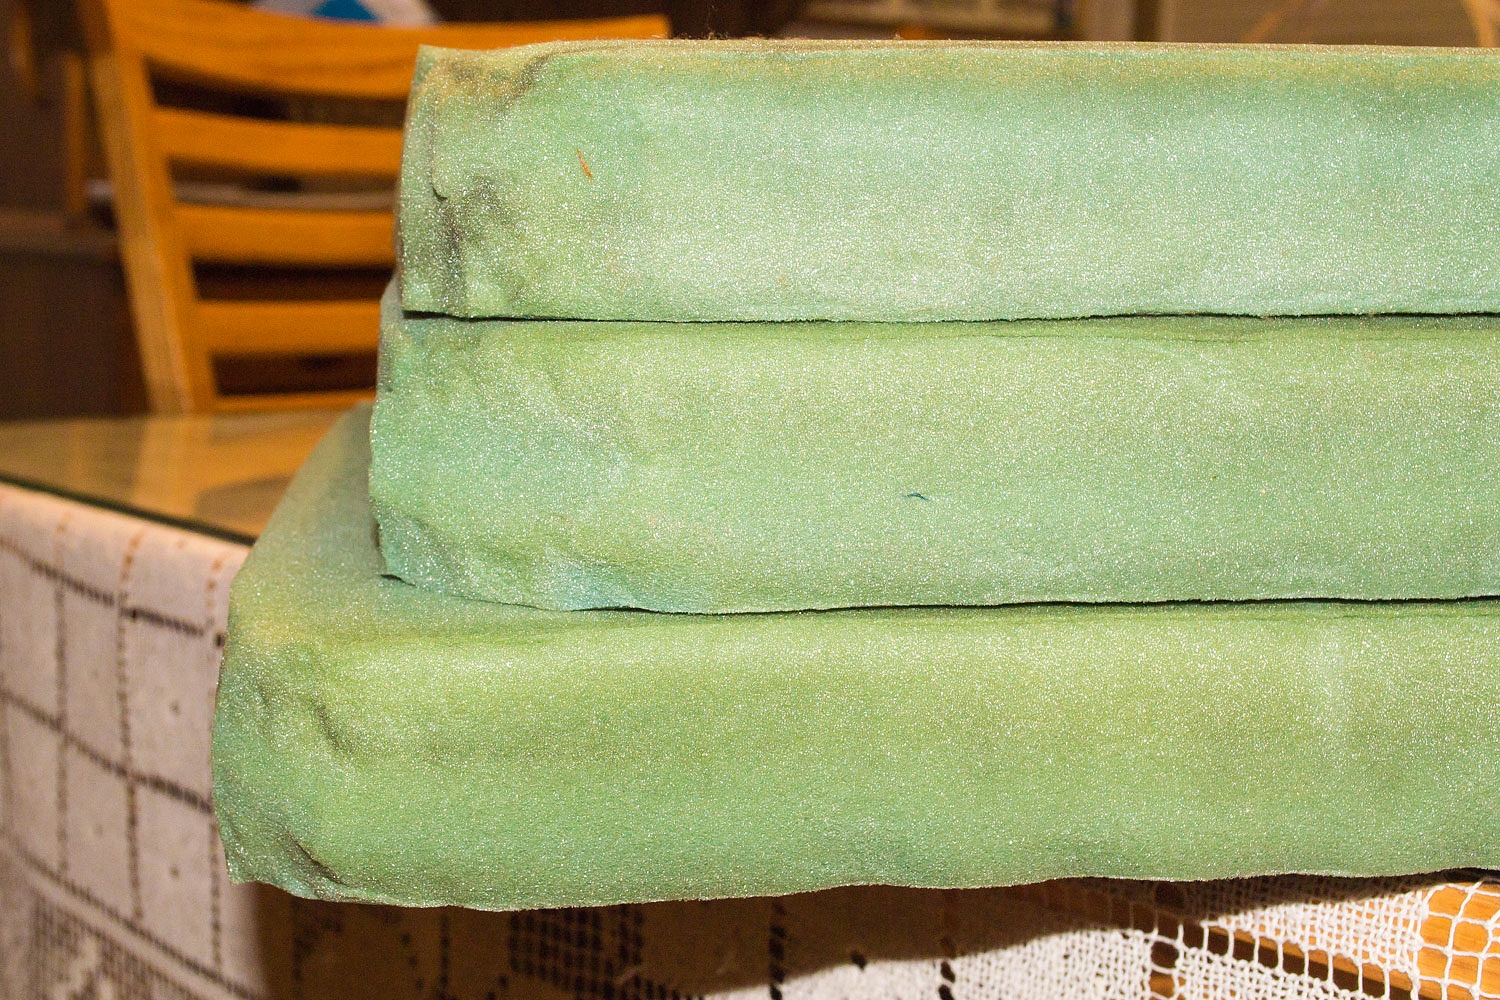
The steam restored the foam to full height and crisp edges.
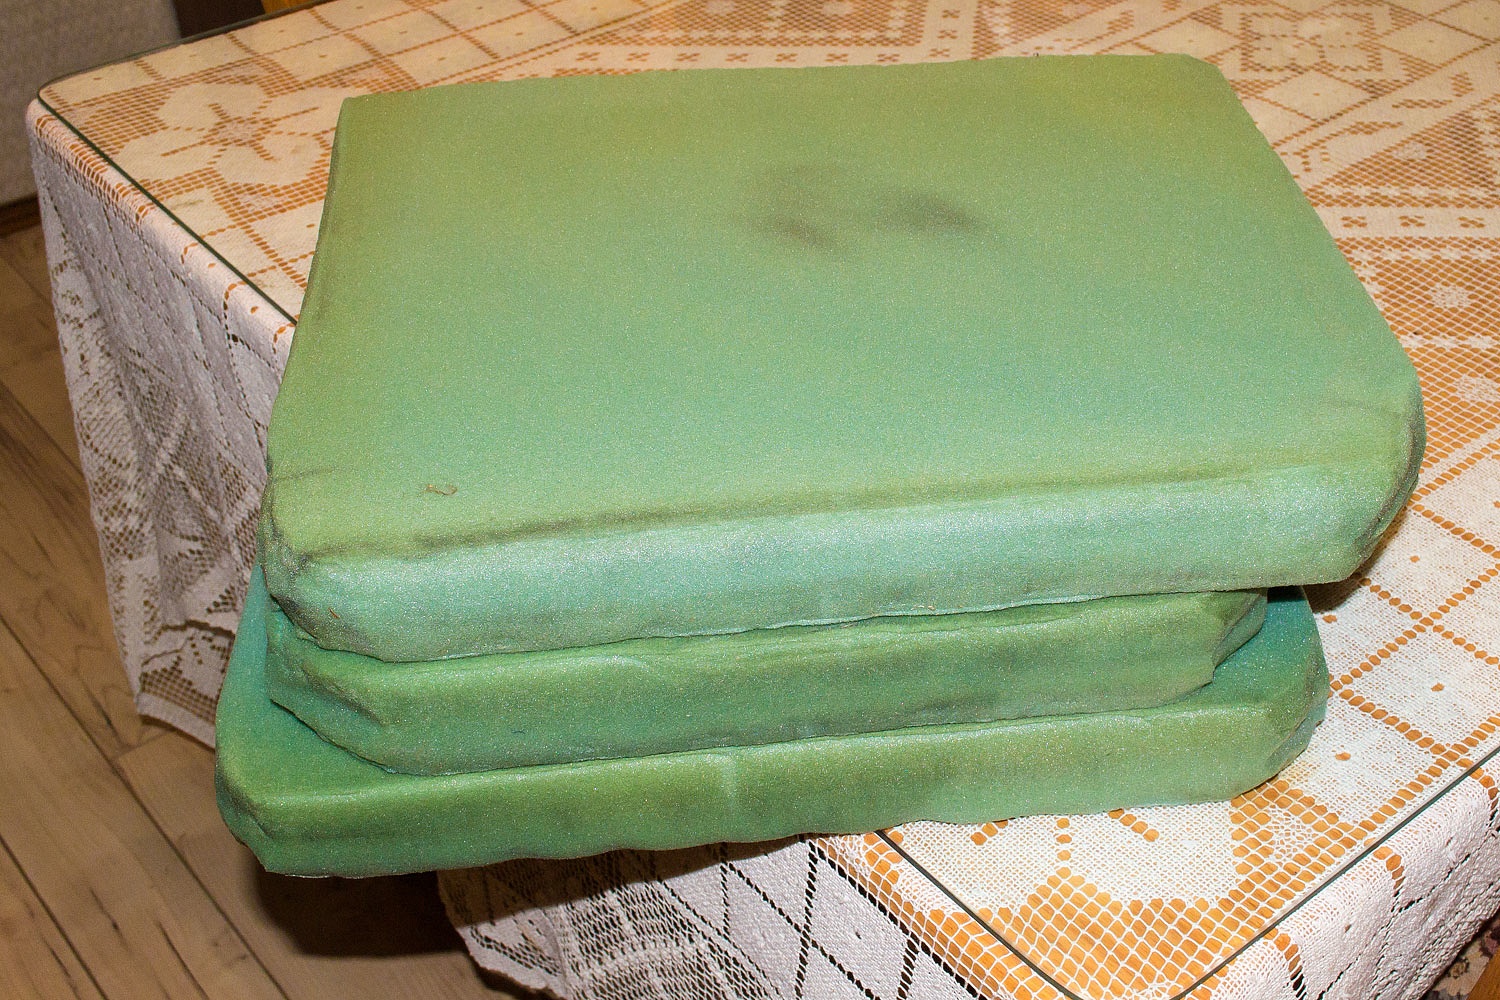


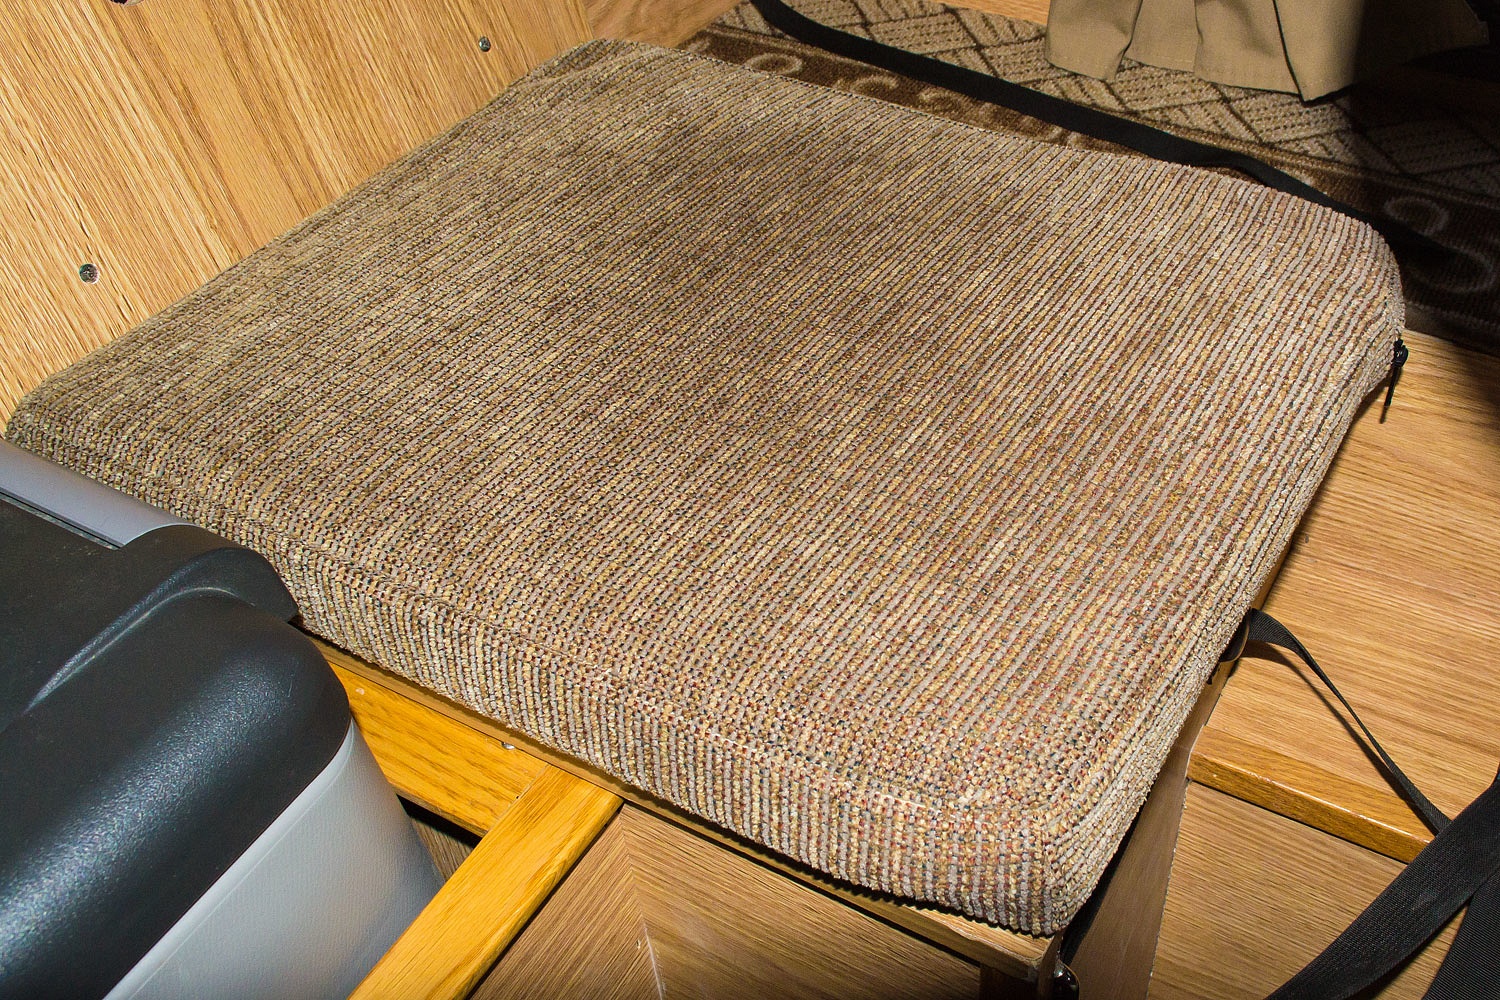
Sorry, I do not have any "before" photos. It was at this stage that I decided to begin photo documenting  the project. The Lady climbed in the camper and reattached the covers to the plywood lids and then stuffed the rejuvenated cushions back inside.

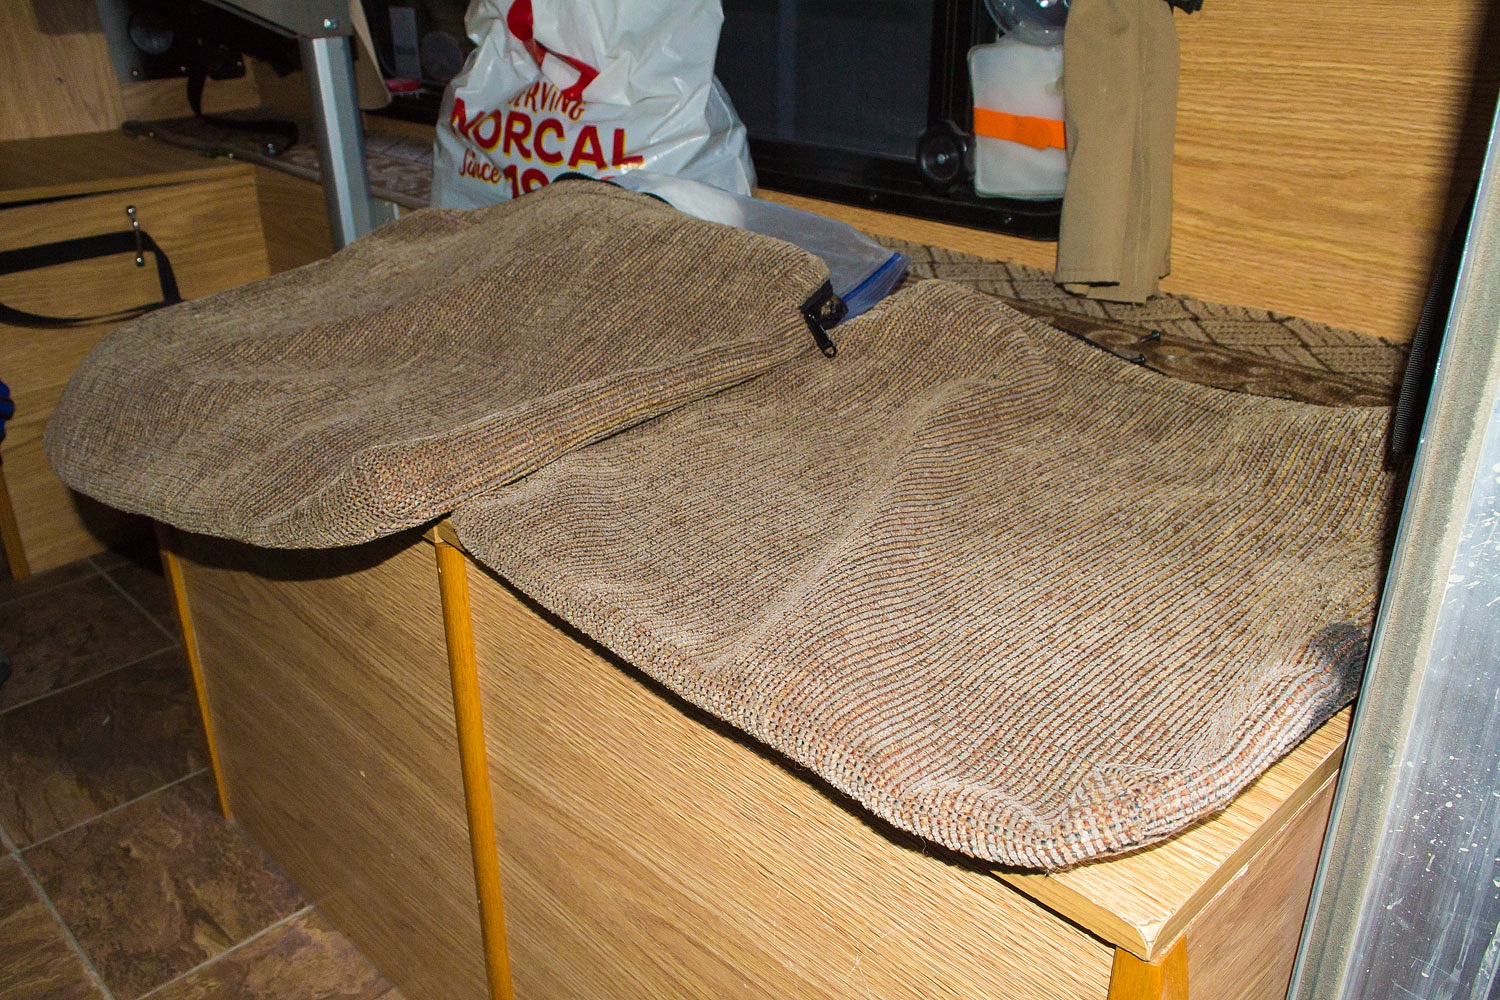


Note: the right cushion has a permanent black mark from rubbing the aluminum interior door frame.



You know what happened next, right? It grew arms and legs. "How 'bout the bed cushions?" the Lady asked. Our camper has three cushions for our bed - one large one that is always in place in the cabover and two small ones for the area when the slide is pulled out to increase bed size. We went to work.
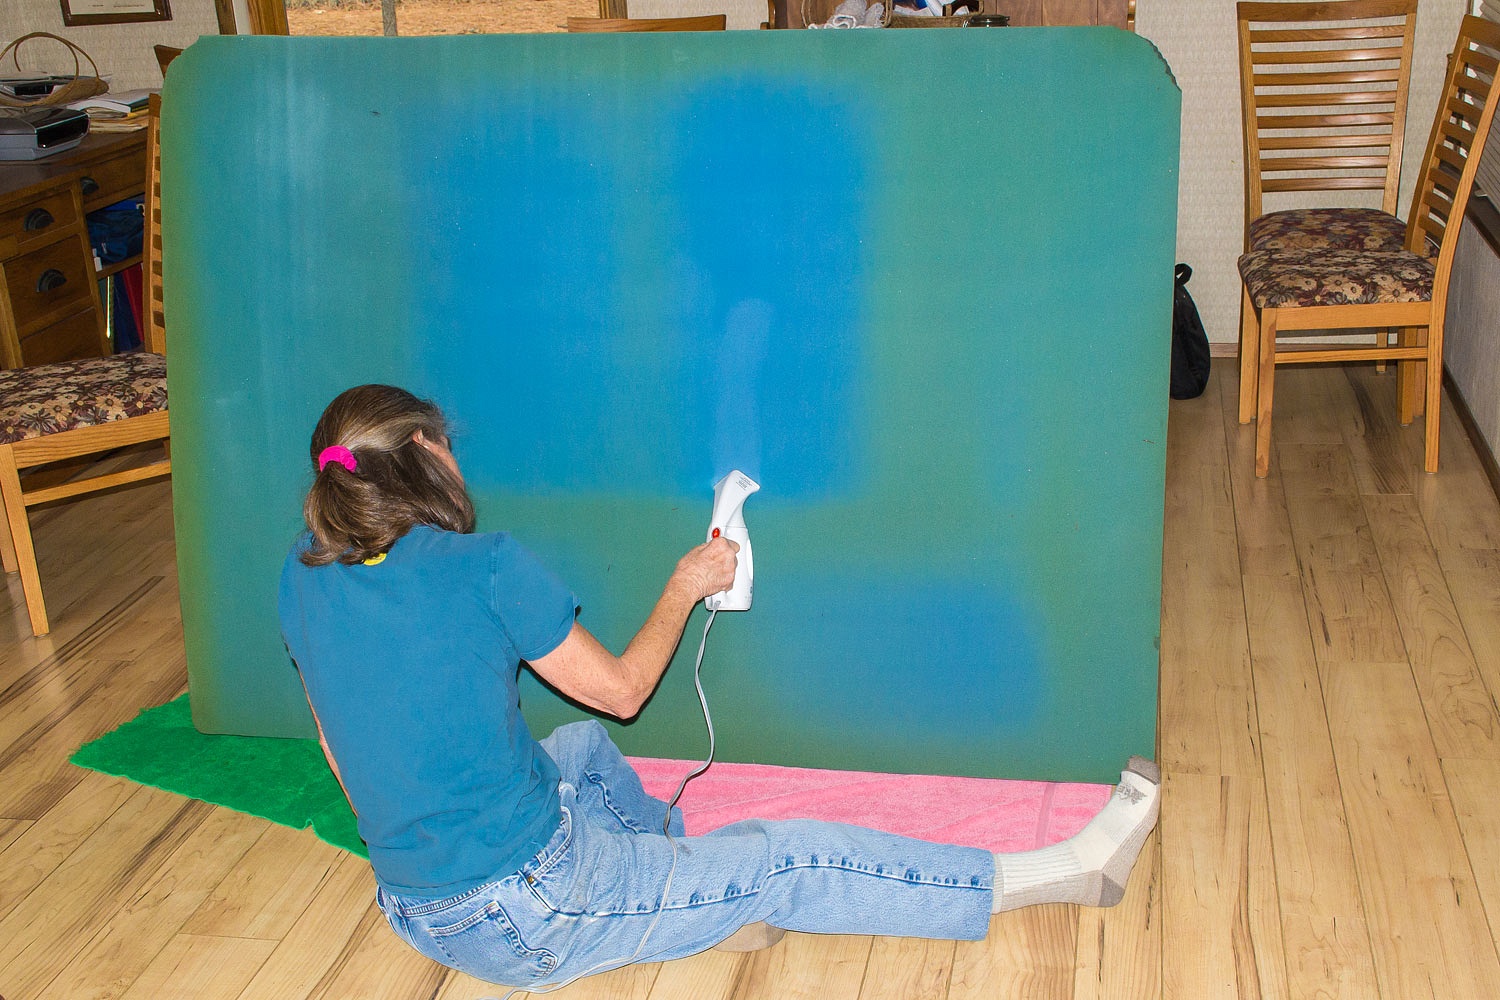


Here is a before of the large cushion with a noticeable sag in the center where our butts usually reside during sleep.
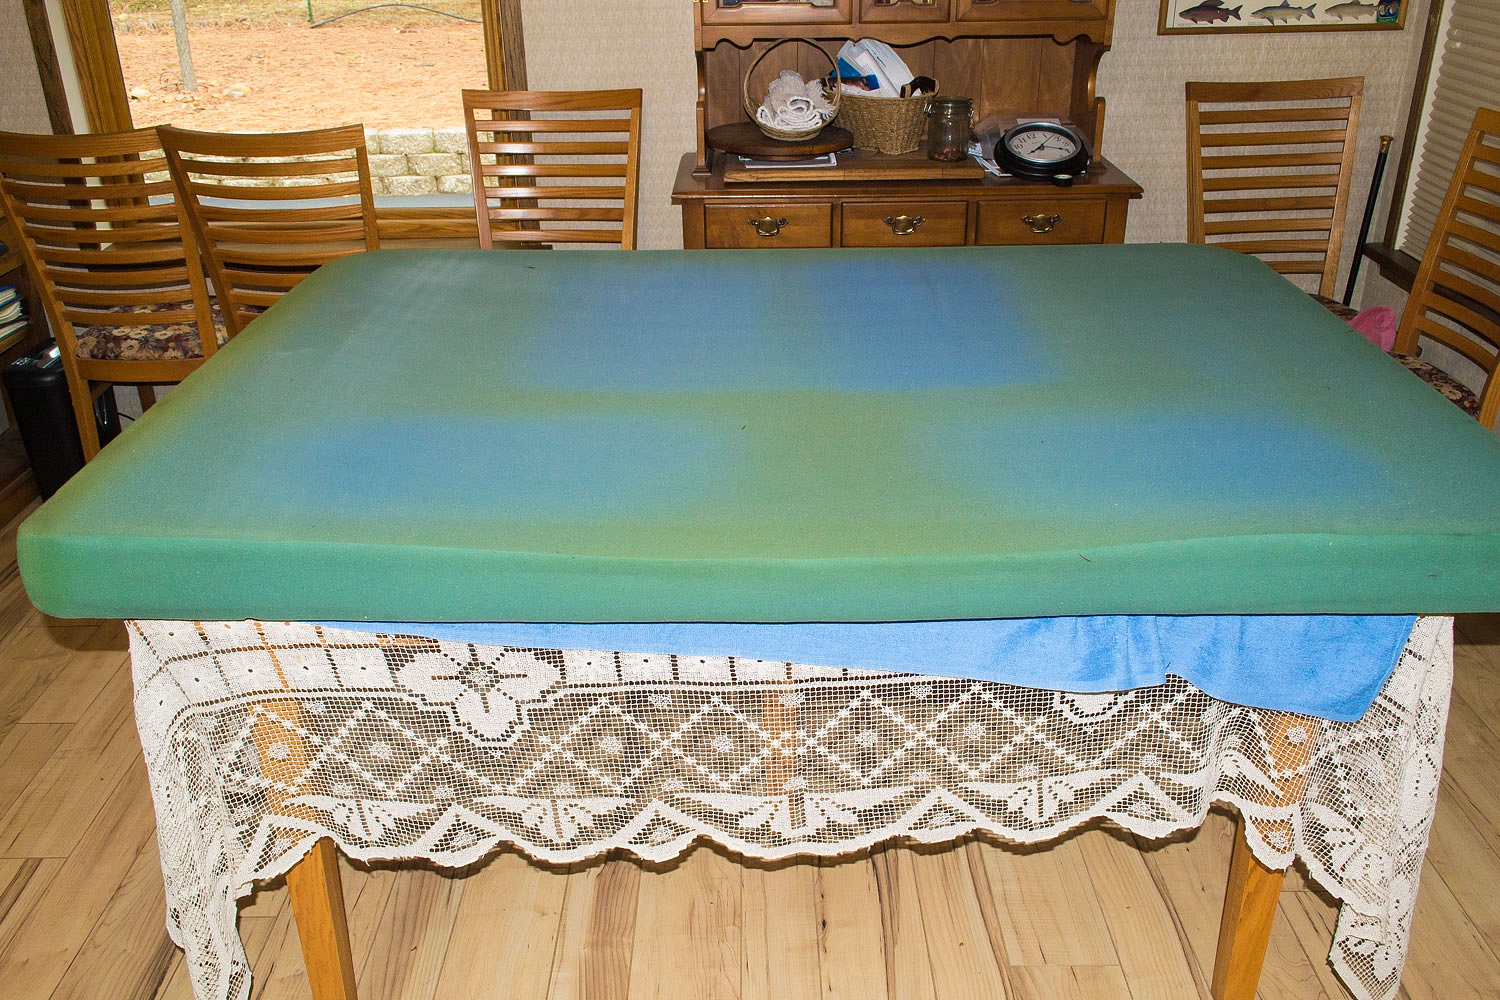


The covers went in the washer and dryer.


Here are a few photos of how the foam responded.


Below is cushion 2 (Julie labels everything). The right hand edge has been steamed and the bulge back to original dimensions is evident.


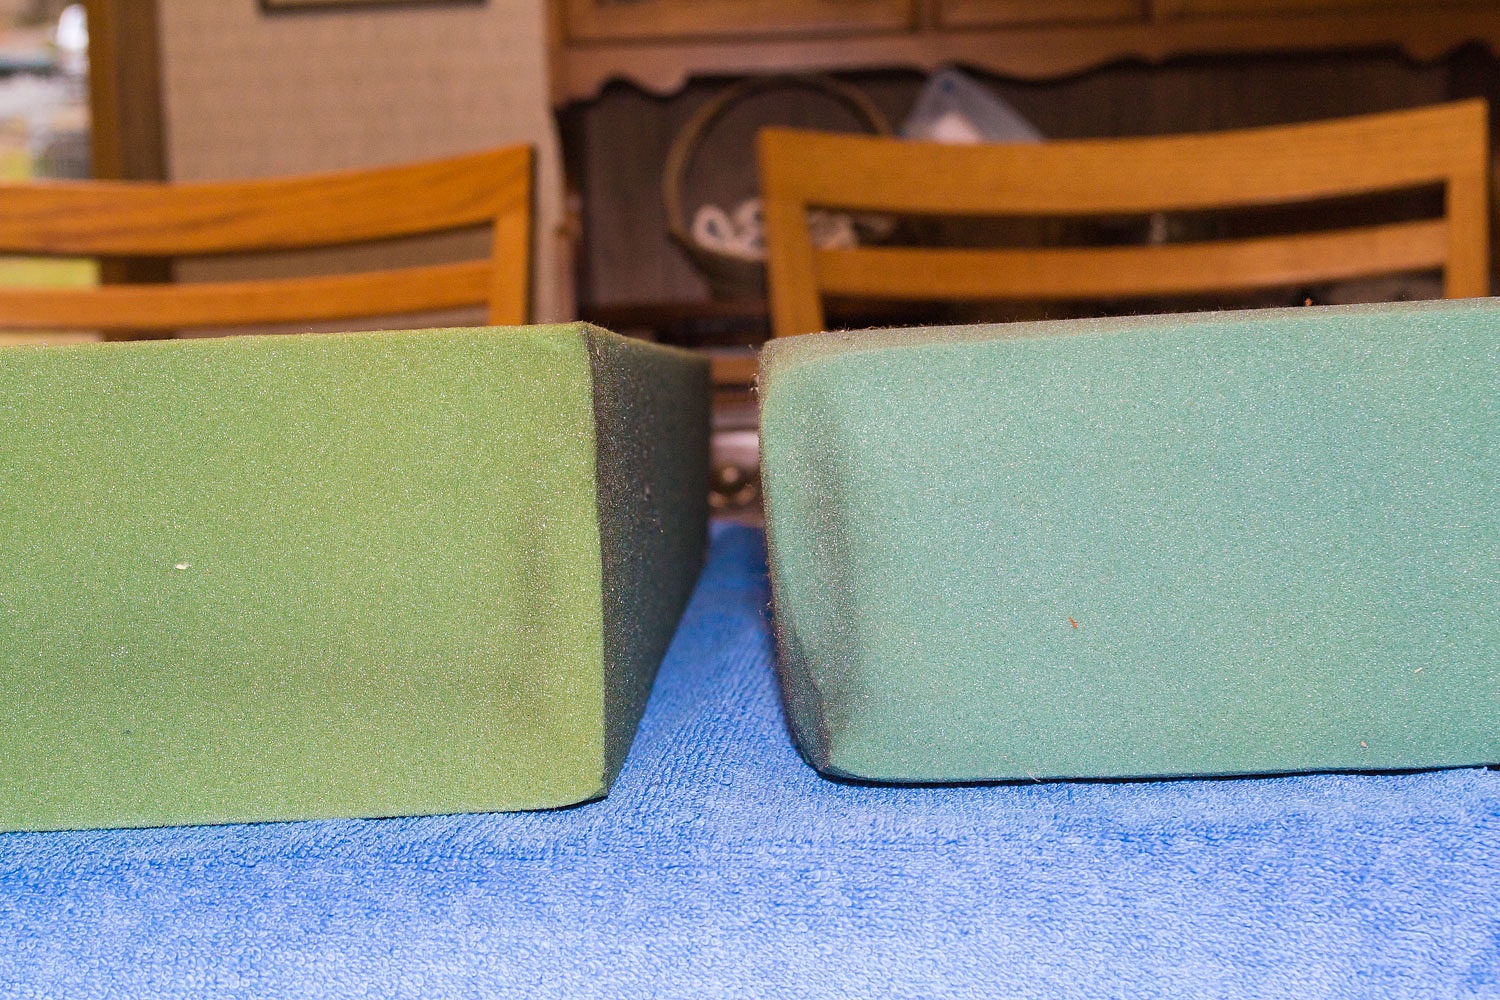
Below - the cushion in the foreground has been treated with steam. The second is presteam for a comparison.
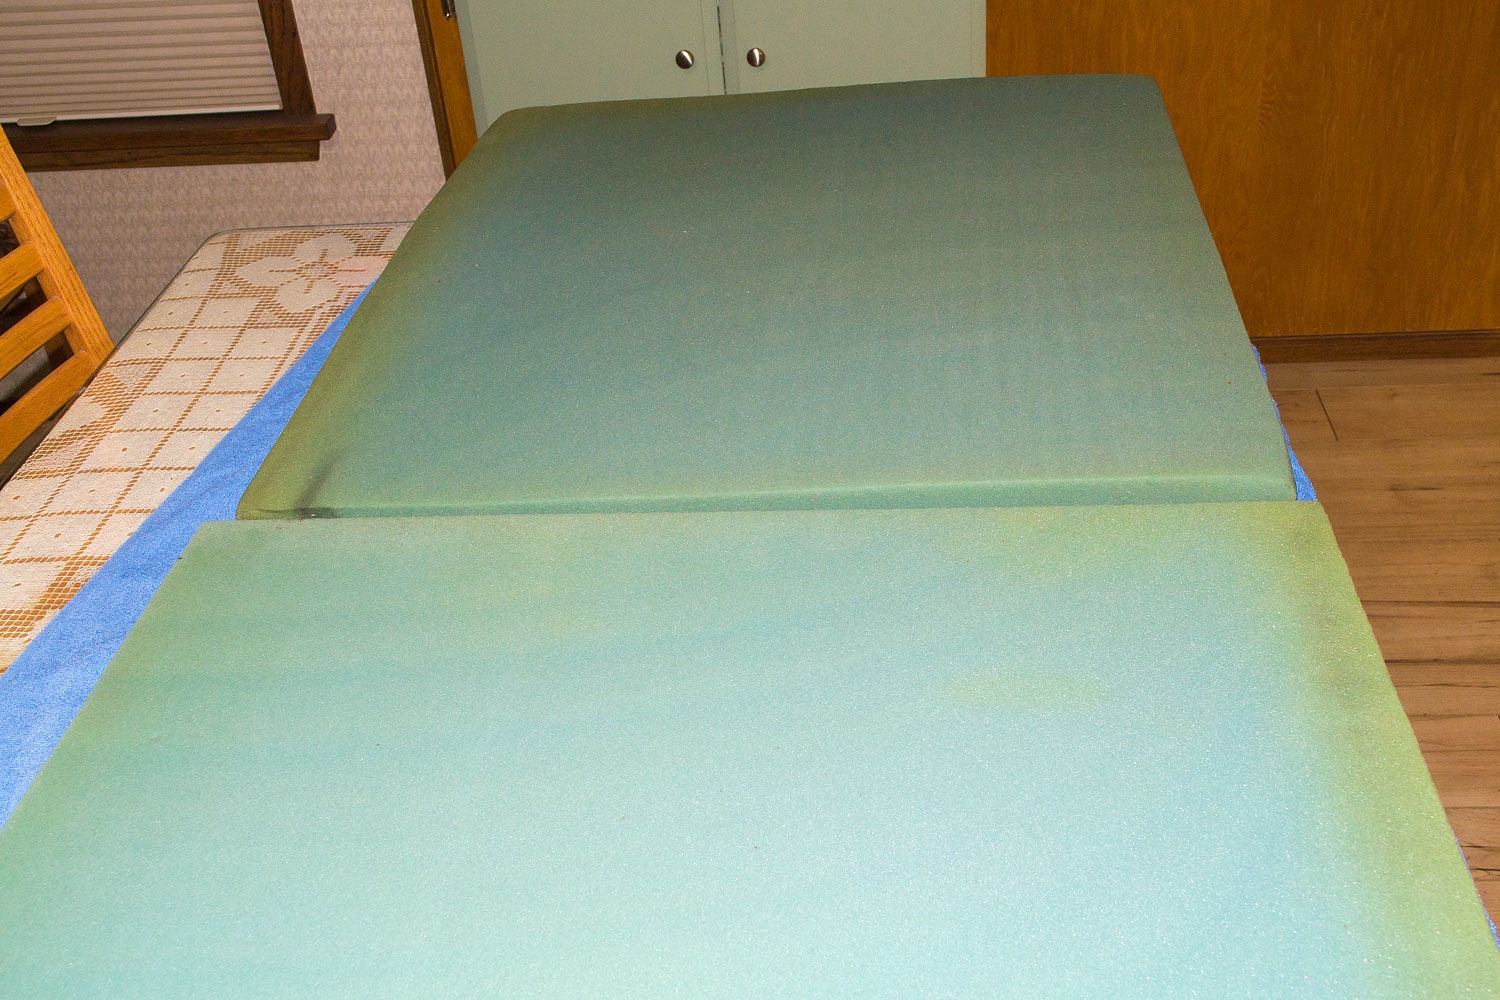


Steamed on the left and unsteamed on the right below.


Below is a corner of cushion 1. The far right edge of the cushion has been steamed in the first photo. The second photo shows the difference after completing the steam treatment.
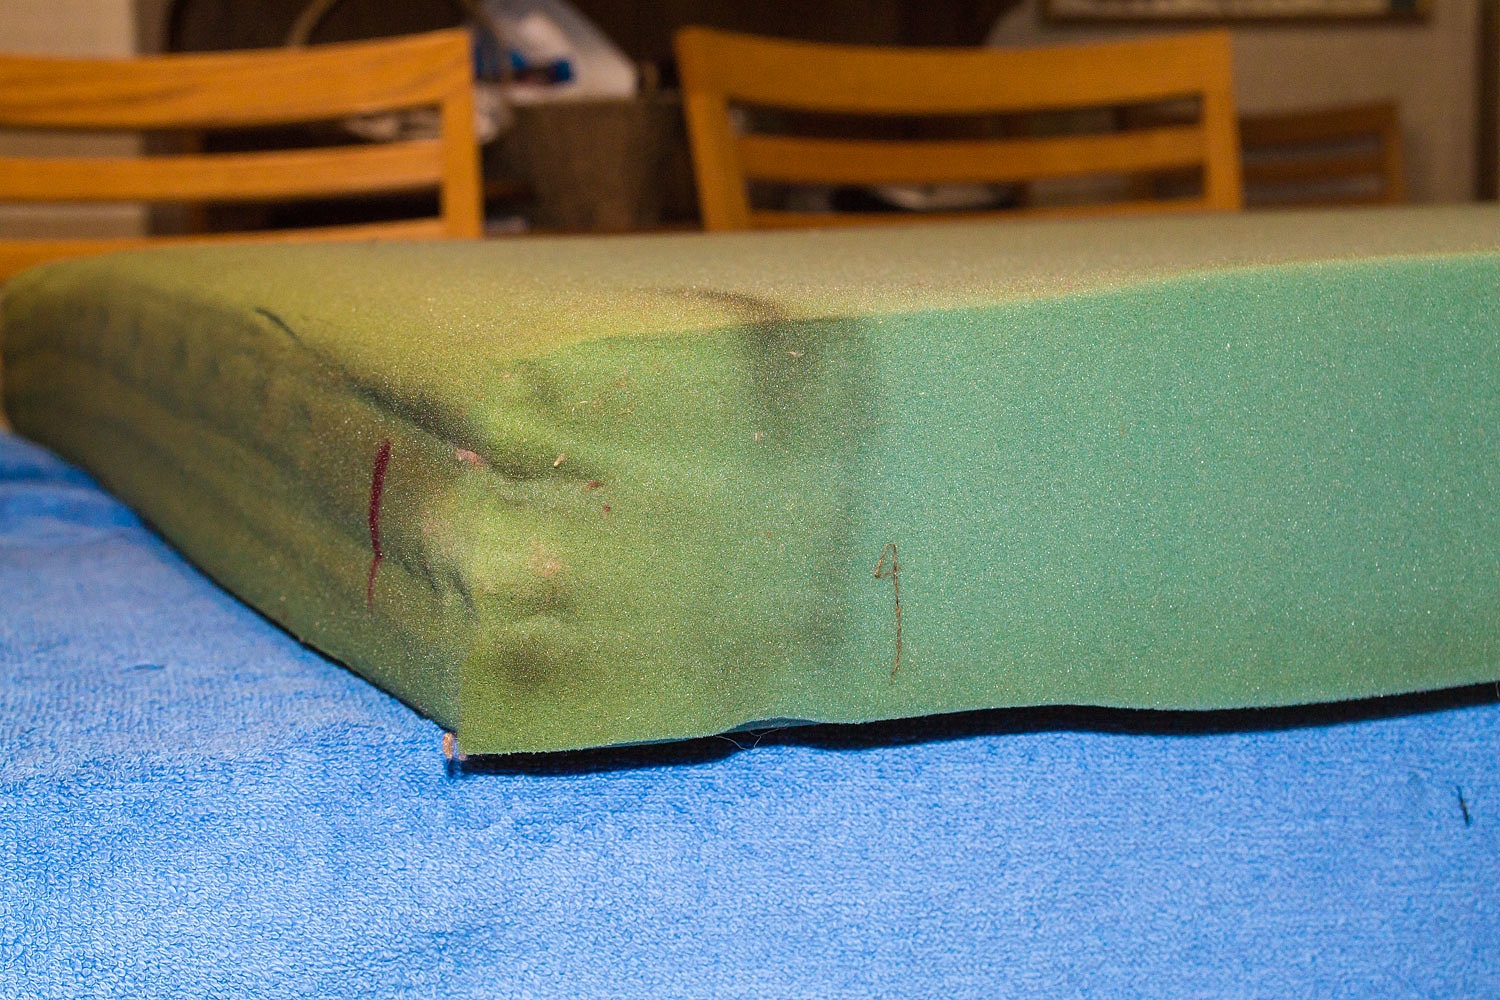


We are very pleased with the results. There was no change in size or shape after the foam dried. A second benefit is the thorough steam cleaning of the foam so with washing the covers, everything is now clean and refreshed.
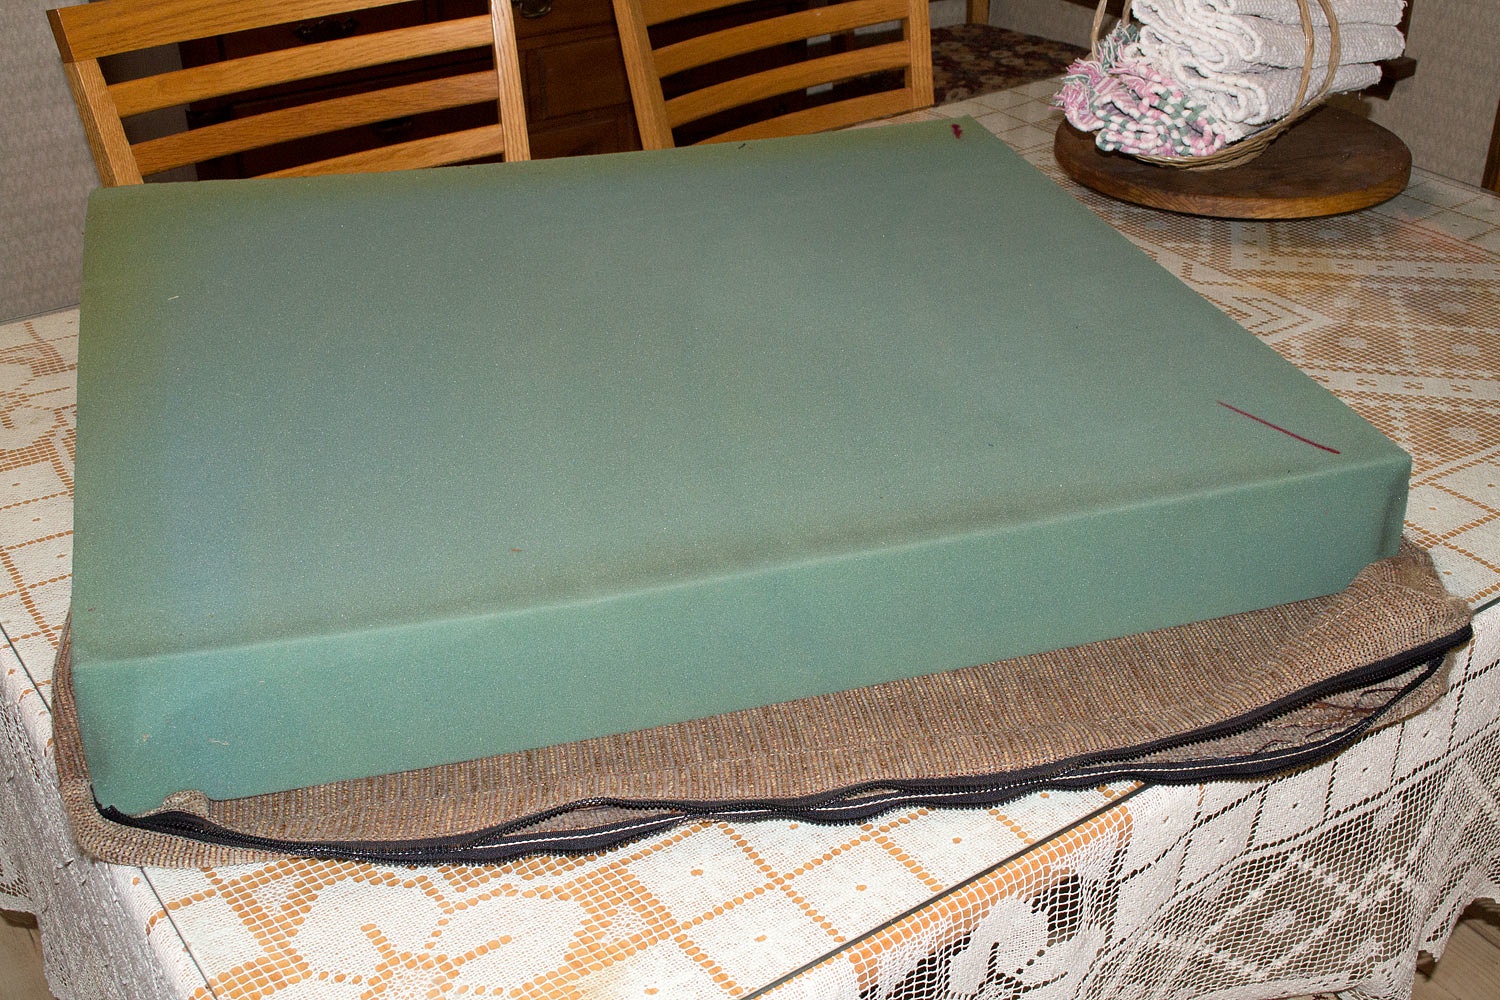
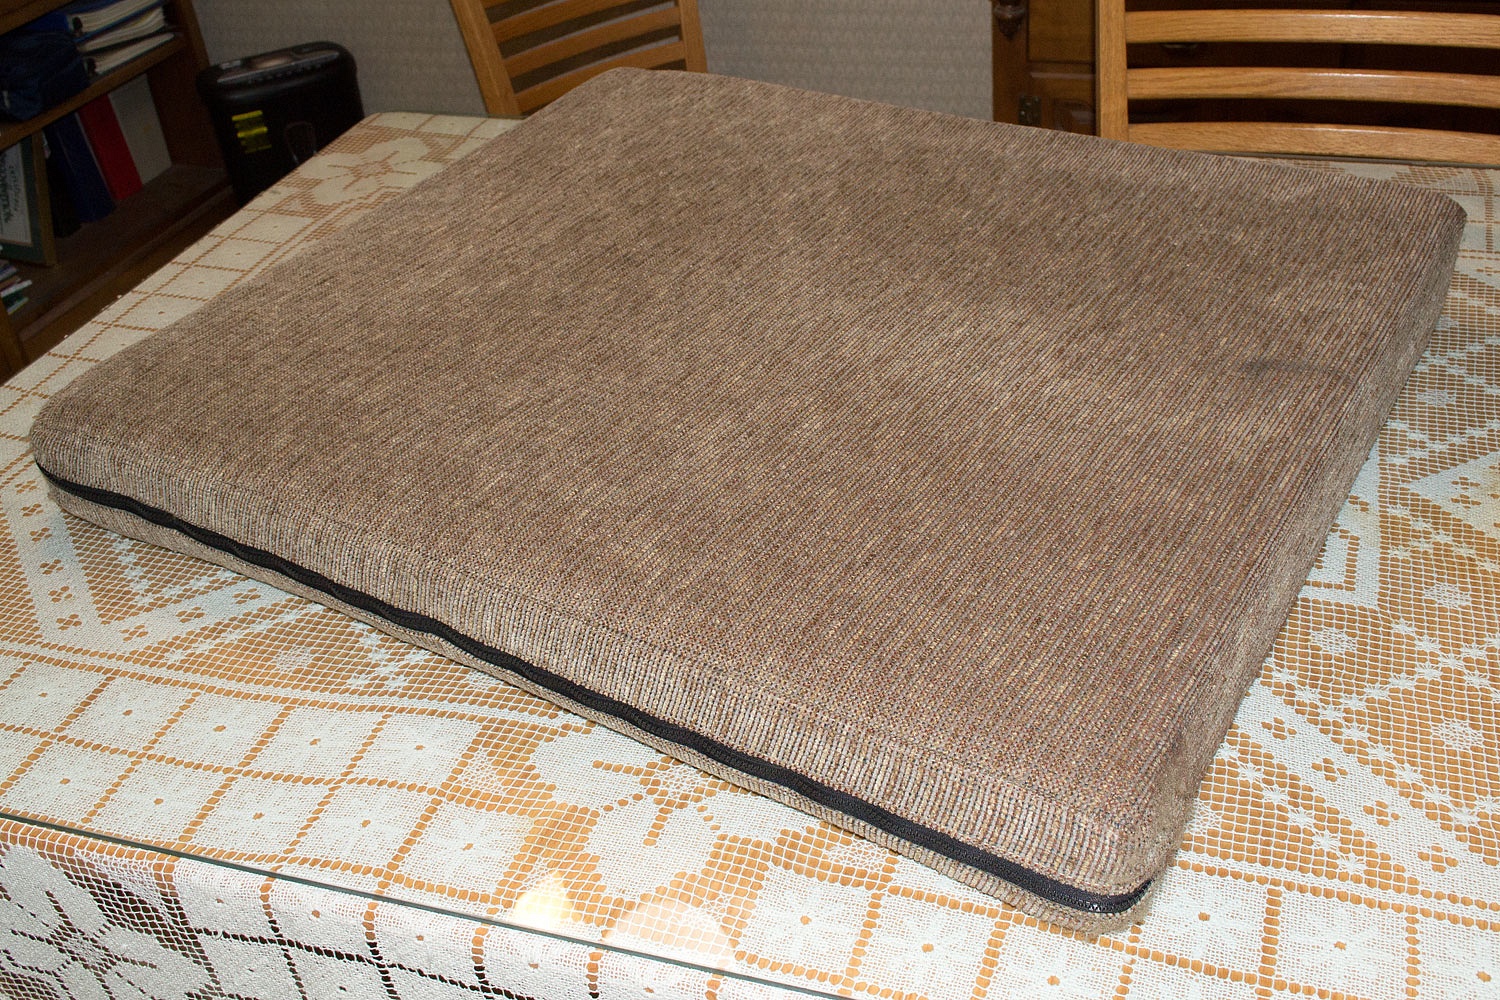


I'll add, we find the foam pads that All Terrain Campers use in their campers are very comfortable to sleep on. So just like our truck seats, we want these to last as long as possible. I should also note that these pads have gotten a lot of use in the seven years we've had the camper. They all feel brand new now.


I expect that washing the covers and steaming all the cushions in the camper will become an annual spring cleaning ritual.


In regards to the small garment steamer we borrowed. The small volume of water and frequent refills was not much of a problem because the unit heats up so quickly.  A larger steam head would be much nicer. Since we are frugal, I'll watch craigslist for a nearby used floor unit with a hose and wand for a few bucks. The Lady wants to steam and remove the wallpaper in the dining room. Arms and legs, arms and legs.

Wednesday, December 16, 2020

Death Valley National Park - December 2020 - Part Three


please remember you can click on a photo to see a larger version & highlighted text are links to additional information


You can click here for - Part Two


In Your Face Geology


Tucki Mountain rises up just south of Stovepipe Wells. Starting from the west, we have explored these spectacular canyons that slice into Tucki Mountain - Cairn, Black Point, Stretched Pebble, Mosaic, and Grotto. The next canyon to the east of Grotto and around the corner is Little Bridge Canyon. This is what the Lady wanted to do. She wanted to hike Little Bridge Canyon. The starting point is on highway 190 near Mesquite Dunes.


There is no trail. The route climbs the steep alluvial fan along the flank of Tucki Mountain to reach the canyon mouth, a bit over 2 miles of hiking. When we looked back we could gauge the amount of elevation we were gaining.


Here's a view from about the half way point to the canyon.


Here is a view to the east across Death Valley.


We reached the mouth of Little Bridge Canyon and climbed down into the wash.


We started up the canyon.


I'll paraphrase some of the geological information Michel Digonnet provides in his excellent guide book, Hiking Death Valley.


The strata in the north end of the Panamint Mountains has been tilted to almost vertical. The main formation visible in the canyon is called Ely Springs Dolomite, a rusty colored rock. Past the first set of narrows is a large gash of striking white rock - a formation called Eureka Quartzite.


The quartzite has  been crushed by the shearing forces from the folding and uplift of the Panamints. From this point up the canyon runs parallel to the vertical strata. The erosion took away the weakened quartzite and in its place is a straight gorge lined on the west with vertical walls of the more resistant dolomite. It is geology in your face.


The corridor runs for 1.25 miles. It is amazing, especially when we stopped to notice some of the details. Here is an arch cut into the layers of dolomite on the west wall.


At the upper end of this corridor the underlying quartzite is visible in the wash.


The canyon bends to the right after the corridor. The Lady was happy. She carried handwritten notes she had made from the guide book.


Around that corner and further up we came upon the canyon's namesake, the little bridge.


The gradient steepened. We stopped for a long snack break and tried to take in more of the details around us.


The Lady's preferred direction of travel is up. She was happy.


About a mile above the little bridge the canyon forks. We turned up the west fork. Yes, it got steep.


Climbing was involved.


We turned around just before the canyon's finish in a high amphitheater. This was a fun canyon to explore.


We began our descent.


Here Julie is working her way down a bypass around a pourover.


And here is the pourover.


We reentered the main canyon.


The sun leaves this canyon in the early afternoon, disappearing below the crest of Tucki Mountain. Remnants of Eureka Quartzite stood out in the east wall of the canyon.


The subdued light brought out the rich colors in the Ely Springs Dolomite on the near vertical west wall in the corridor.


We took a last look at the Eureka Quartzite as we entered the lower narrows.


In the winter afternoon light the lower section of the canyon was delightful.


We reached the mouth of Little Bridge Canyon, climbed out of the wash, and began the long downhill back to our waiting truck.


Little Bridge Canyon definitely moved into the fun column on "the list."


We were back at the truck at 3:30. It had been a great hike. We were heading home in the morning, but we needed a spot for the night, and a place we could reach before dark. Up and over Towne Pass, we turned north on Lake Hill Road in Panamint Valley. We were surprised by the line of rigs camped along the road, four. That's a large number to us. We found our spot unoccupied and at least a half mile apart from the other campers. After camp set up and quick showers, the evening light grabbed all of our attention.


Did you notice the clouds? The Lady did. Armed with her compass and the paper, she prepared for the first of two visible over flights of the International Space Station. The early one (around five) was a bust, no hope with the dark clouds. We walked after dinner. The Lady checked the paper. "This one starts in the southwest." She confirmed the direction with her compass, handy in her shirt pocket. The clouds thinned a bit to the south. We spotted it, an intermittent arc of light behind the clouds.

"Four nights in a row!" The Lady raised her arms in triumph.


We slept well, incredibly well and were up the next morning before the sun. Clouds over Panamint Valley can provide tremendous colors at sunrise. We wanted to be ready.


Soft colors were over to the west.


With our morning coffee brewed, we headed out onto the playa and around Lake Hill, a chunk of Tin Mountain Limestone that slid off of the Cottonwood Mountains. It was an incredible morning.


We returned home. The coronavirus pandemic is raging. The availability of hospital and ICU beds are reaching critical numbers. A new stay at home mandate has been issued. We discovered Death Valley National Park had closed (allowing day use only) while we were in the backcountry. Had we known we would have done the right thing and left. This will be our last trip of the challenging year of 2020. All in all it was a pretty darn good trip to end the year.


So here's to happy holidays to all and best wishes for a great 2021. A new year, that's what we all need.